Best podcast microphones for 2026: picks for every budget and setup
Picking a podcast microphone can feel like the biggest decision you'll make before launching, and in some ways it matters. Your mic is the first thing standing between your voice and your listener's ear, so a clear, warm recording makes everything after it easier. But the best mic isn't the most expensive one. It's the one that fits your voice, your room, and the way you actually work, and it's only the first link in the chain that gets you to a finished episode. Below you'll find honest picks for every budget, a plain-language guide to the choices that matter, and a look at what happens after you press record.
The quick picks
Here's the short version, so you can skim before you scroll.
- Best value for beginners: Samson Q2U, a dual-connection dynamic that plugs in by USB now and moves to XLR later (USB and XLR, around $70)
- Polished beginner alternative: Audio-Technica ATR2100x-USB, the Q2U's modern cousin with USB-C (USB-C and XLR, around $99)
- Best budget XLR: Rode PodMic, a broadcast-style dynamic for anyone ready to add an interface (XLR, around $99)
- Best all-rounder: Shure MV7+, a hybrid dynamic with app control and onboard monitoring (USB-C and XLR, around $249)
- Best USB condenser for treated rooms: Rode NT-USB+, clean and detailed when your space is quiet (USB, around $169)
- Most flexible mid-range: Rode PodMic USB, plug-and-play now with an XLR upgrade path (USB-C and XLR, around $199)
- The broadcast icon: Shure SM7B, studio-grade warmth and rejection, though it needs an interface and plenty of gain (XLR, around $399)
- Broadcast classic: Electro-Voice RE20, rich and even with minimal proximity effect (XLR, around $450)
- Studio-grade condenser: Rode NT1 5th Gen, pristine detail for a treated room (XLR and USB, around $259)
Microphone basics before you buy
Three choices shape how your mic sounds and how easy it is to use. Get these right and the rest is detail.
USB vs XLR: which connection fits your setup
The connection is really a question of how simple you want setup to be versus how much you want to grow. USB mics plug straight into your computer; XLR mics run through an audio interface or mixer that you buy separately.
USB microphones
- Plug-and-play, no extra gear needed
- Usually one mic per computer
- Around $50 to $250
- Best for solo shows, beginners, and simple setups
XLR microphones
- Need an interface or mixer, roughly $100 to $300 more
- Support multiple mics at once
- More control and a clear upgrade path
- Best for multi-host shows and growing podcasts
If you're recording yourself and want to start today, USB is the easy answer. If you're building toward a multi-host studio, XLR gives you somewhere to go.
Dynamic vs condenser: which suits your room
This choice is mostly about your room. Dynamic mics ignore background noise, while condensers capture more detail but hear everything, including the noise you'd rather they didn't.
Dynamic microphones
- Reject background and room noise well
- Warm, focused sound that handles volume
- No phantom power needed
- Best for untreated rooms and most podcasters
Condenser microphones
- Sensitive, detailed, and crisp
- Pick up more of the room
- Need 48V phantom power
- Best for quiet, treated spaces and solo studio work
Recording in a normal room with some echo and life around you? Choose dynamic. It's the safer bet for most podcasters, which is why most of our picks are dynamic.
Polar patterns: how your mic hears the room
A polar pattern is simply the shape of where your mic listens. For podcasting, you almost always want it listening to you and not to the room.
- Cardioid: picks up the front, rejects the rear; the default for podcasting and the right call for most people
- Supercardioid: tighter front pickup with better side rejection; useful when two mics sit close together
- Omnidirectional: hears everything equally; only for roundtables or capturing a room on purpose
When in doubt, cardioid. Every mic in this guide offers it.
The best podcast microphones by budget
Good sound exists at every price. The jump from a phone mic to a real one is huge; the jump from a $100 mic to a $400 one is real but smaller than you'd expect. Here's where your money goes.
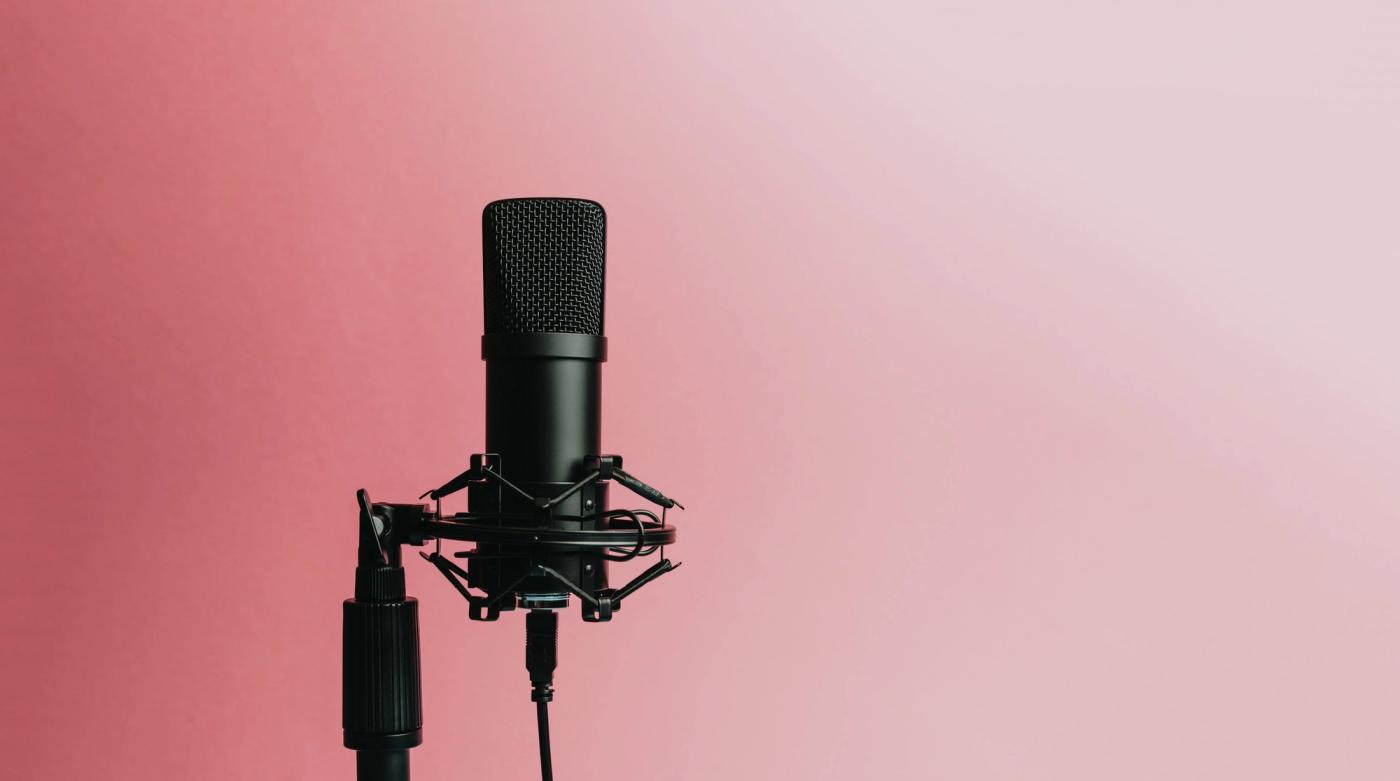
Budget picks under $100
These get you clean, professional-enough audio without much thought or spend.
Samson Q2U, around $70
The Q2U is the mic most people should start with, full stop. It does one clever thing that punches above its price: it grows with you, working over USB today and moving to XLR whenever you get serious, so you won't have to rebuy.
- Quick specs: USB and XLR, dynamic, cardioid, around $70
- Key features:
- Dual output, so it fits a simple or a serious setup
- Onboard headphone jack for zero-latency monitoring
- Ships with a stand, windscreen, and both cables
- What we like: Hard to beat for the money, and the dual connection means you won't need to replace it when you upgrade.
- Where it falls short: The plastic build feels its price, and it won't match a studio mic's richness.
- Best for: First-time podcasters who want one mic that lasts.
Audio-Technica ATR2100x-USB, around $99
Think of this as the Q2U's slightly more polished cousin. It pulls the same dual-connection trick with a modern USB-C port and a touch more refinement, so it's the pick if you want that flexibility with a little more finish.
- Quick specs: USB-C and XLR, dynamic, cardioid, around $99
- Key features:
- USB-C alongside XLR, with the same grow-with-you path
- Headphone jack with volume control for live monitoring
- Tight cardioid pattern that stays focused on your voice
- What we like: USB-C and a clean, focused sound at a beginner price.
- Where it falls short: It's close enough to the Q2U that the extra spend is mostly ports and polish.
- Best for: Beginners who want USB-C and a slightly nicer build.
Rode PodMic, around $99
The PodMic is the budget pick for people who already know they want the XLR path. It's a broadcast-style dynamic with a built-in pop filter, so it sounds the part as long as you have an interface to plug it into.
- Quick specs: XLR, dynamic, cardioid, around $99
- Key features:
- Rich lower midrange with a real broadcast character
- Internal pop filter and shock mounting built in
- All-metal build that takes a knock
- What we like: Punches well above $99 once it's running through an interface.
- Where it falls short: XLR only, so the true cost includes an interface, and it sounds flat without enough gain.
- Best for: Beginners committed to an XLR setup from day one.
Mid-range picks from $100 to $250
This is the sweet spot, where most serious podcasters land and stay.
Shure MV7+, around $249
If one mic could be called the current default for podcasters, it's this one. It pairs classic Shure warmth with app control and onboard monitoring, so it suits a beginner today and a more serious setup later without compromise.
- Quick specs: USB-C and XLR, dynamic, cardioid, around $249
- Key features:
- Hybrid USB-C and XLR in a single mic
- App control for tone, levels, and an auto-level mode
- Onboard touch controls and a headphone jack for monitoring
- What we like: Genuinely great spoken-word sound with almost none of the fuss.
- Where it falls short: Pricey for a first mic, and you pay for features a pure XLR rig wouldn't need.
- Best for: Podcasters who want one mic that covers them from beginner to serious.
Rode NT-USB+, around $169
This is the pick when your room is quiet and you want detail. It's a condenser that delivers a clean, studio-leaning sound straight into your computer, so it shines for solo creators recording in a treated space.
- Quick specs: USB, condenser, cardioid, around $169
- Key features:
- Detailed condenser sound over plain USB
- Built-in pop filter and headphone monitoring with mix control
- Solid preamp and conversion for the price
- What we like: Studio-style detail without an interface, and the build feels premium.
- Where it falls short: As a condenser, it hears your room, so echo and noise will show up.
- Best for: Solo podcasters in a quiet or treated space.
Rode PodMic USB, around $199
This is the PodMic for people who don't want to deal with an interface yet. It keeps the broadcast-style dynamic sound and adds USB-C alongside XLR, so you can plug in and record now and move to a full XLR rig whenever you're ready.
- Quick specs: USB-C and XLR, dynamic, cardioid, around $199
- Key features:
- Dynamic sound with both USB-C and XLR outputs
- Onboard processing and headphone monitoring in USB mode
- Internal pop filter and rugged metal build
- What we like: Real broadcast-style sound with plug-and-play ease and room to grow.
- Where it falls short: More than the XLR-only PodMic, and the USB processing won't fully match a dedicated interface.
- Best for: Creators who want dynamic sound now and an XLR path later.
Premium picks over $250
You're paying for broadcast-grade build, noise rejection, and a sound engineers trust. These reward a treated room and a proper setup, and they're overkill if you're just starting out.
Shure SM7B, around $399
This is the mic you've seen in every famous podcast studio, and the reputation is earned. It delivers warm, broadcast-standard sound with superb noise rejection, but it's demanding, since it needs an interface and a lot of clean gain, often a separate booster, to truly sing.
- Quick specs: XLR, dynamic, cardioid, around $399
- Key features:
- Industry-standard broadcast sound and warmth
- Excellent rejection of room and background noise
- Built-in pop filter and tank-like construction
- What we like: A genuinely professional sound that holds up for years.
- Where it falls short: It's gain-hungry and needs extra gear, so the real cost climbs well past the sticker.
- Best for: Established podcasters with an interface and a treated space.
Electro-Voice RE20, around $450
A radio-booth staple for decades, the RE20 trades the SM7B's character for a remarkably even, natural sound. It barely changes tone as you lean in or pull back, which makes it forgiving for animated talkers and anyone who wants polish without fussing over mic position.
- Quick specs: XLR, dynamic, cardioid, around $450
- Key features:
- Smooth, even response with minimal proximity effect
- Strong internal pop filtering and shock isolation
- Built for broadcast and built to last
- What we like: Forgiving, professional, and consistent take after take.
- Where it falls short: Expensive, heavy, and like the SM7B it wants a good interface.
- Best for: Talkers who move around and want effortless broadcast polish.
Rode NT1 5th Gen, around $259
If your room is treated and you want pristine detail, this condenser is the value play at the high end. It offers studio-grade clarity with both XLR and USB, so it works for a careful home studio whether or not you own an interface yet.
- Quick specs: XLR and USB, condenser, cardioid, around $259
- Key features:
- Very low self-noise and high detail
- Dual XLR and USB connection in one mic
- Comes with a shock mount and pop filter
- What we like: Studio detail at a fair price, with the flexibility of USB or XLR.
- Where it falls short: It's a condenser, so an untreated, noisy room will undo all that detail.
- Best for: Solo creators with a quiet, treated space who want maximum clarity.
How to choose the right microphone for you
Strip it back and the decision comes down to a few honest questions. Match the mic to your room first, because if your space has echo or life around it, a dynamic cardioid mic will serve you far better than a sensitive condenser. Match the connection to your ambition next, so USB if you want to record today, XLR or a hybrid if you're building toward a multi-host studio. And resist the urge to overspend, because a well-placed $70 mic in a quiet room beats a $400 mic in a bad one.
One honest note on popularity: the Blue Yeti is the mic you'll see most often, but it's a condenser that picks up the whole room, so it suits streaming or a treated space more than a typical podcast setup. Whatever you choose, think one step past the mic. The gear gets you a recording; a workflow that handles cleanup, enhancement, show notes, and publishing in one place is what gets you an actual episode out the door.
A quick rule of thumb:
- Untreated room: dynamic, cardioid
- Quiet, treated room: a condenser is on the table
- Recording today, solo: USB
- Growing toward multi-host: XLR or a hybrid
- Tight budget: spend on your room and technique before a pricier mic
Getting the most from your microphone
Your mic is only as good as the room around it and the habits you bring to it. A few small changes here matter more than another hundred dollars of gear.
Your space and your technique
- Record in a quiet spot away from fans, traffic, and appliances
- Soften the room with rugs, curtains, and furniture, or record in a closet of clothes in a pinch
- Sit 6 to 8 inches from the mic, just below mouth level, and keep that distance steady
- Use a pop filter to tame plosives, the hard P and B sounds
- Set your levels so peaks land around -12dB to -6dB, and monitor with headphones as you go
The gear around your mic
A complete setup is more than a mic, but you don't need all of it on day one.
- Audio interface, only for XLR mics, roughly $100 to $200 to start
- Boom arm or stand to hold the mic steady and cut desk noise, around $20 to $150
- Closed-back headphones so you can monitor without bleed, around $50 to $100
- Pop filter to clean up plosives, around $10 to $30
- Recording and editing software, which is where the next part comes in
A clean recording isn't a finished podcast
Here's the part the gear guides skip. A great mic gets you a clean recording, but a clean recording isn't a published podcast. Most creators who quit don't quit because they bought the wrong mic. They stall somewhere in the gap between a folder of raw audio and an episode that's actually live, where the editing, the cleanup, the show notes, and the publishing pile up.
That gap is where a platform does the work your mic can't. Hilite is built to carry a recording the rest of the way. You can record in your browser, clean up the sound with AI enhancement that gets modest setups surprisingly close to studio quality, edit by changing the text instead of the waveform, generate titles, descriptions, show notes, and transcripts, then publish, share clips, and track your analytics, all in one place. The enhancement piece matters for this whole guide, because it means you don't have to overspend on a mic to sound professional.
To be clear about what it isn't: Hilite is not a microphone and won't capture your voice for you, so you still need a decent mic from the list above and a reasonably quiet room. It's audio-first for now rather than video, and it runs in your browser rather than as a desktop app. What it removes is the friction between recording and publishing, which is usually the real reason a show never ships.
Frequently asked questions
Do I need an expensive microphone to sound professional?
No. The biggest gains in podcast audio come from where you put the mic and how quiet your room is, not from price. A well-placed $70 dynamic mic in a soft, quiet room will beat a $400 mic in an echoey one, and good enhancement can close most of what's left. Spend on your space and your technique first.
Can I start podcasting with just my phone or laptop?
You can, and plenty of shows have launched that way. A modern phone records cleaner audio than people expect, especially if you get close, record in a quiet, soft room, and keep it steady. Treat it as a fine starting point and upgrade to a dedicated mic once you know the show is something you'll stick with.
USB or XLR if I might add a second host later?
A hybrid mic with both USB and XLR, like the Samson Q2U or Shure MV7+, is the safest hedge, since you record over USB now and move to XLR when you add hosts and an interface. If your second host will join remotely rather than sit in the room, you don't need extra inputs at all; you each record on your own mic and bring the tracks together in your platform.
How do I reduce echo and background noise without buying gear?
Echo is a room problem, so soften the room with rugs, curtains, cushions, and even a wardrobe of clothes, or record in a small closet. Get closer to the mic, because distance is what lets the room creep in, and favor a dynamic cardioid mic that ignores what's behind it. These cost nothing and do more than most upgrades.
Do I really need a pop filter, boom arm, and audio interface?
Not all at once. A pop filter is cheap and worth it from day one. A boom arm is a nice quality-of-life upgrade but not essential. An interface is only needed if you choose an XLR mic, so if you're on USB you can skip it entirely.
How much should I budget for a complete starter setup?
For a solid USB start, plan on roughly $80 to $150 for the mic, $20 to $50 for a stand or arm, $10 to $30 for a pop filter, and optional headphones around $50 to $100. Software can be free to begin with, and paid plans usually land in the $13 to $19 a month range. You can have a genuinely good setup for under $200 before software.
Will AI audio enhancement make my voice sound robotic?
Good enhancement does the opposite. It cleans up noise, evens out levels, and adds polish while keeping your natural voice intact, which is the whole point. Tools like Hilite's enhancement are built to make a real recording sound like its best self, not to replace it with something synthetic.
Can I record, edit, and publish a podcast in one place?
Yes, and it removes a lot of the friction that stalls new shows. An all-in-one platform like Hilite lets you record, enhance, edit by text, generate show notes and titles, publish, share clips, and see your analytics without juggling separate apps. The mic still captures your voice; the platform handles everything that comes after.
Stop researching, start recording
The best podcast microphone isn't a trophy; it's a tool that disappears so your ideas can come through. Pick the one that fits your room, your voice, and the way you like to work, then stop researching gear and start recording. Your setup was never the thing standing between you and your audience. Your story can't tell itself, so edit out the friction, and let your voice do what it came to do.
Got your mic sorted?
Take a recording from raw audio to a published episode in one place with Hilite, and start free.