Record a yoga class
Record a yoga class with a small lapel mic clipped to your collar, not with a phone propped up at the front of the room. Voice Memos on an iPhone or the recorder app on Android is honestly fine for a seated talk, it's free and it's already on the device — but a yoga class is the one recording where you don't stay put. You cue from the front, then walk over to adjust someone's back knee, and your voice walks away from the microphone while the microphone stays exactly where it was. A clip-on lapel mic fixes that outright, because it moves with you, and no amount of editing afterwards rescues a room recording that kept losing you. Hilite records straight into an editor in a browser tab, so the trimming and levelling happen where the class lands rather than in a second app.
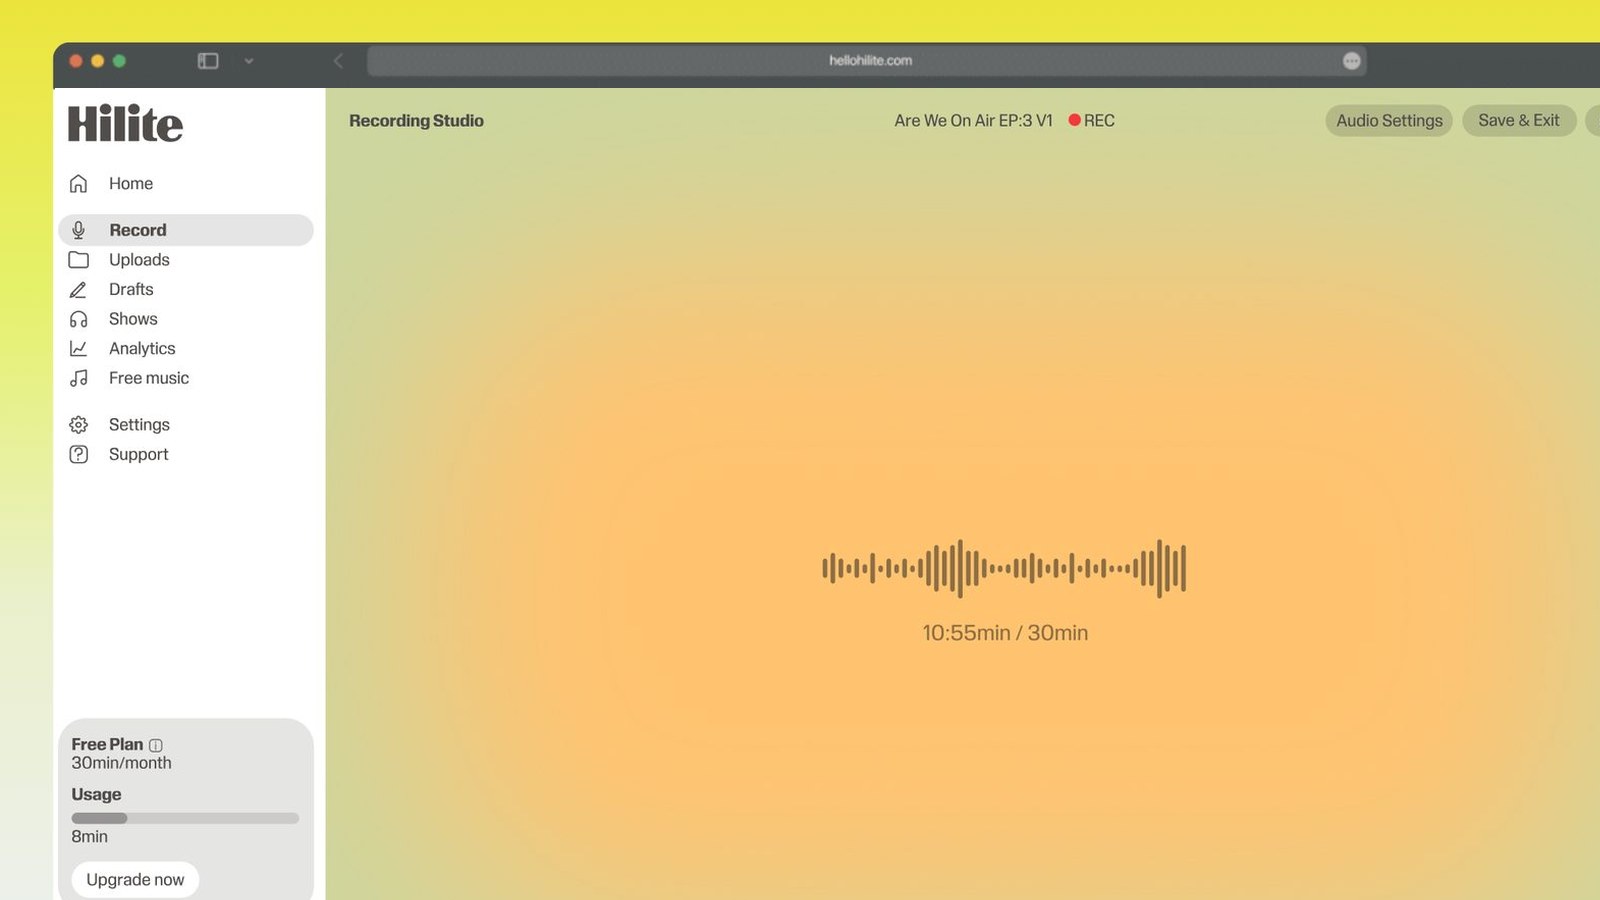
Record a yoga class in four steps
- 1
Clip the mic on before anything else
Put the lapel mic on your collar or the neckline of your top, a hand's width below your chin, and check it isn't going to rub against a zip or your hair. Record ten seconds, move to the back of the room, and play it back — if your voice holds steady while you walk, you're set.
- 2
Rewrite your cues for ears only
Go through the sequence and move every transition cue earlier: name the pose you're heading for, then give the breath it happens on. Say which side you're on out loud each time, because at home there's nobody to copy.
- 3
Record the class, alone or live
Teaching to an empty room lets you stop and restart, which is the easier first recording. If you're capturing a live class, ask the group at the start, keep the mic on you rather than in the room, and tell them their voices may be audible.
- 4
Trim, level and export
Cut the setup chat off the front and the packing-up off the end, level the voice so a whisper in savasana is still audible, then export mp3. Leave the holds where they are — those long quiet stretches are the practice, not dead air.
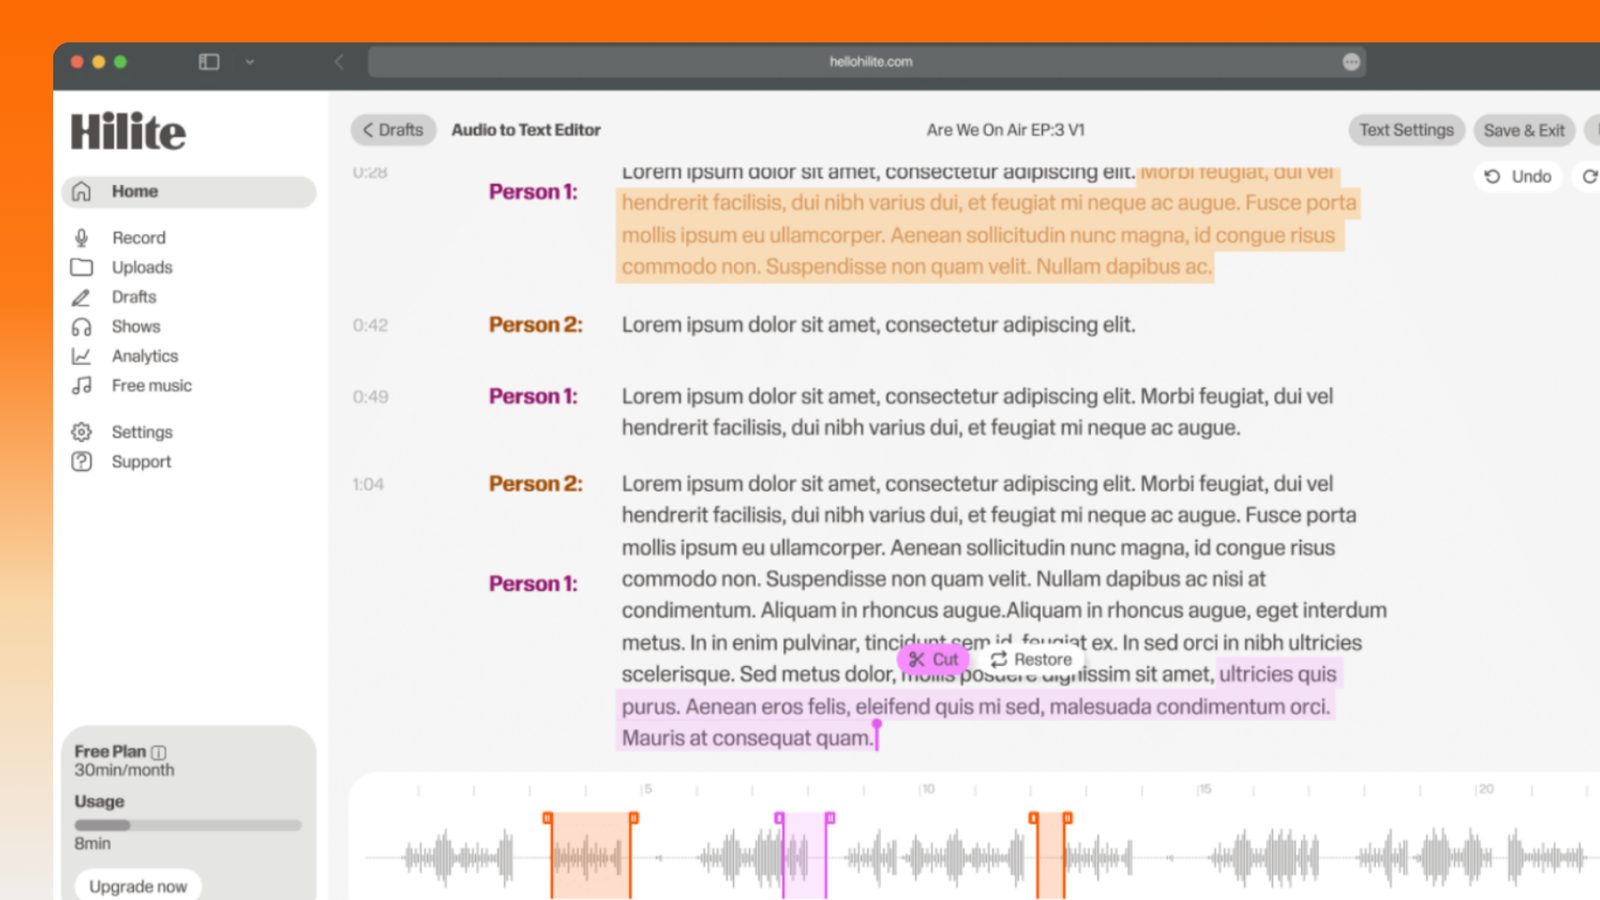
Keep working inside the Hilite editor
Your uploaded files open directly in a focused editor view. Arrange your clips, preview the timeline, adjust transitions, and export when the track sounds perfectly right.
- Record straight into the browser
- Watch levels as you speak
- Keep the take, or run it again
Input formats
Output formats
Built for every kind of audio
Whatever you are making, this tool helps you get to a cleaner, more useful result, then hand off to Hilite to enhance and polish.
- The mic moves with youTeaching is walking about, and a phone on a block only hears the front of the room. Clip the mic to your top and your level stays the same whether you're demonstrating or halfway down the back row.
- Cue ahead, not duringA student practising at home can't see you, so a cue given as you move is already late. Say what's coming, then say when to go.
- Trim the room out laterStudio hum, a bolster landing, the first sixty seconds of hellos — all of it comes off in the same tab you recorded in, without exporting the file anywhere.
- Nothing to install on the dayIt's a web page, so a borrowed studio laptop or a locked-down device still works. Allow the mic and record.
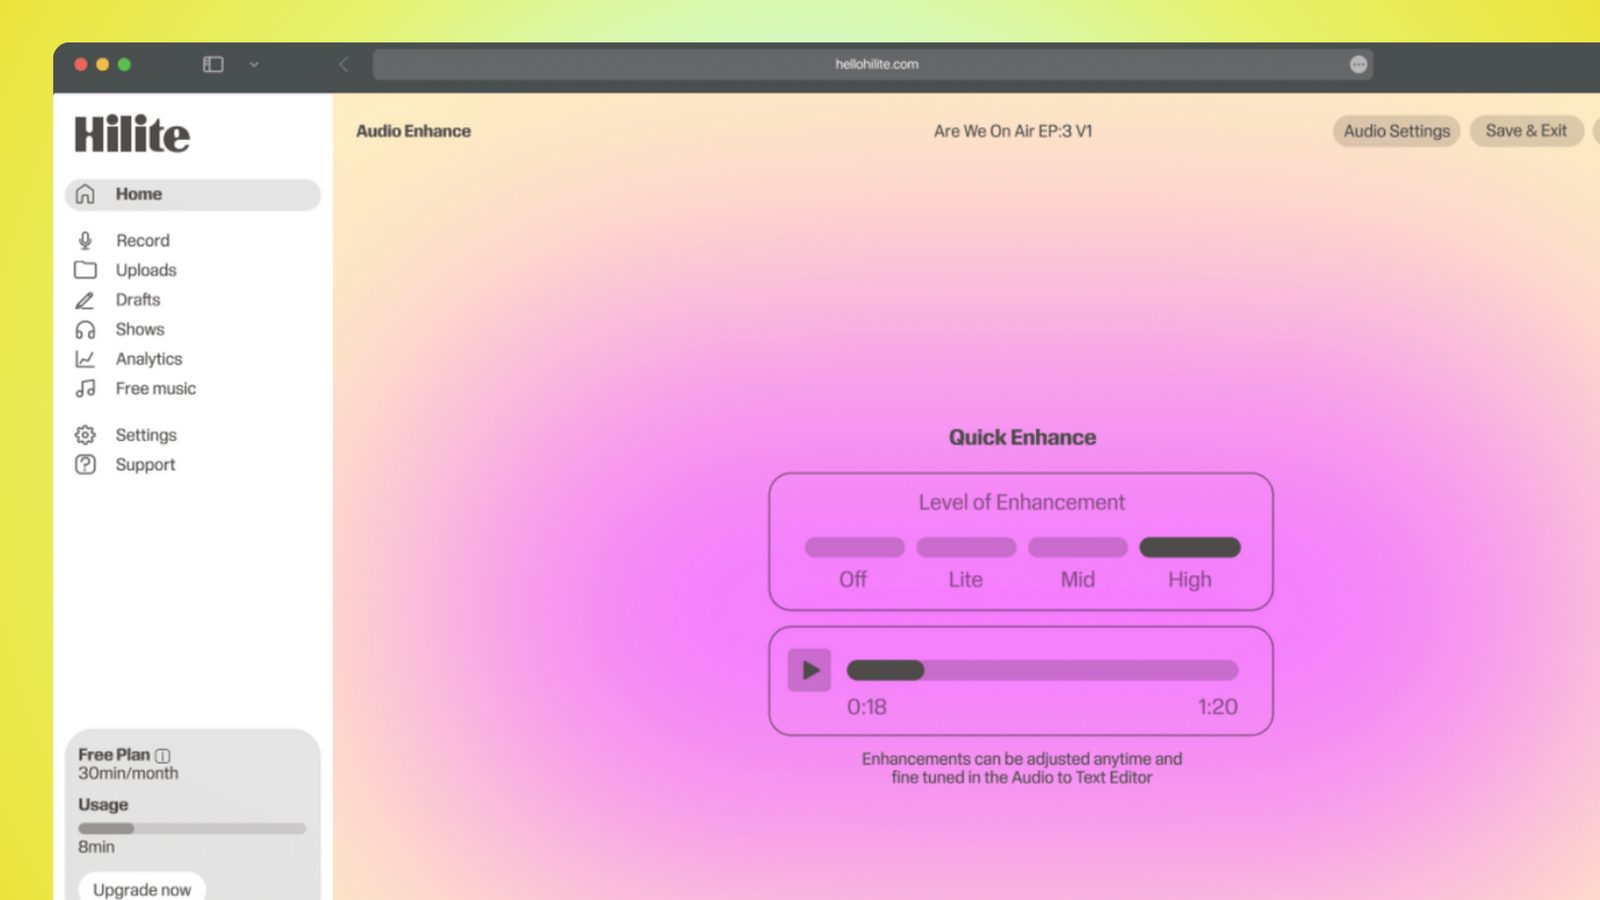
Made for podcasters and their teams
Trim the dead air off the top and tail, and every recording is ready to edit, enhance, and publish.

FAQ
Common questions
If you do not see your question here, the support team replies within one business day.
- A clip-on lapel mic, and the cheap ones are fine. The reason has nothing to do with sound quality and everything to do with the fact that you move: you cue from the front, then cross the room to adjust somebody, and a mic sitting on a block at the front now hears you from four metres away with the room's reverb in between. A lapel mic is a hand's width from your mouth wherever you go, so the level never changes. If you only have a phone, put it in a pocket or the waistband of your leggings with the mic end clear of fabric — it is a worse solution than a lapel mic but a much better one than the phone on the floor.
- Yes, and it makes for a warmer recording than teaching to an empty room, but ask first and ask before the class starts rather than as you press record. Tell them plainly what you're recording, what it's for, and that breathing and the odd voice may end up on the track. Give anyone who'd rather not be recorded a way to say so quietly — an email beforehand works better than putting someone on the spot in front of the room. Keep the mic on your body rather than in the room, which has the side effect of picking up far less of the class than a room mic would. If children are in the class, you need permission from a parent or guardian, not the child.
- Not a commercial track, no. Playing a song in your studio while you teach a live class is one licensing question; baking that song into a recording you then publish or sell is another, and it will get the recording taken down or the account struck. This catches teachers out constantly, because the music was already playing and nobody thought of the recording as a release. Record the class dry, then add a licensed or royalty-free bed afterwards if you want one, where you also get to control how loud it sits under your voice. Plenty of libraries licence ambient beds for a one-off fee, and some are free with attribution.
- Move every cue earlier than you'd give it in the room. In a live class you can say the name of a pose as people are already moving into it, because they can see you and they're copying. On audio there is nothing to copy, so the sequence has to be: name where you're going, say how to get there, then say when. Something like — next we're coming into warrior two, so step the left foot back and turn it out, and on the next out-breath open the arms. Say left and right out loud every single time, count the breaths rather than assuming, and describe the shape briefly the first time it appears in the sequence.
- Audio is a genuinely different product, not a cheaper version of video, and it's often the better one for a class students practise at home. Someone on a mat with their eyes closed isn't looking at a screen anyway, and audio means they can put a phone on the windowsill and get on with it. It's also far less work: no lighting, no framing, no worrying about what the room looks like, and re-recording a badly cued section costs you a few minutes. Video earns its place for teaching a pose that needs to be seen, or for a class aimed at beginners who don't yet know the shapes. Many teachers do both from the same session, and use the audio version as the one people actually return to.
- Put the microphone on your body rather than in the room, which removes the problem instead of correcting for it. If you've already got a recording where the level drops every time you walk away, levelling in the edit will pull the quiet passages up, but it pulls the room's noise and reverb up with them, so those sections sound distant and hollow even at the right volume. That's a fix, not a cure. For the next recording, clip the mic on and do a walking test before the class: record yourself cueing from the front, then from the back of the room, and play it back.
- Home is fine and often better, because you control what else is happening. What you're listening for is not the size of the room but the constant noise in it: a fridge, a boiler, traffic, a fan. Record thirty seconds of silence and play it back at the volume a student would use, and you'll hear what's actually there. Soft furnishings help more than anything else, so a room with a rug, curtains and a sofa will sound far better than a big empty studio with hard floors. If there is a low hum you can't remove at the source, cleaning up the noise floor in the edit handles it, but it's always easier to switch the thing off.
- Match a real class rather than trimming for the format — most people looking for audio classes want a full practice, and the common lengths are 20, 30, 45 and 60 minutes. What matters more than the total is that you say the length in the title and stick to it, because someone with half an hour before work will not start a class that might run to fifty minutes. If you're building a small library, a short one people can do on a bad day is the one that gets played most. Record the class at its natural pace and resist speeding up the holds afterwards to hit a round number.
Clip the mic on and teach
Record the class in a browser tab, then trim and level it in the same place before you send it out.