Record an audiobook at home
Audacity is the free program most home narrators use, and it deserves its reputation — it records, it edits, and it has the measuring tools an audiobook actually needs. It's also a desktop install with an interface from another era, and it won't tell you whether your file passes until you go looking for the numbers yourself. That matters here more than on any other kind of recording, because an audiobook is the one format with a published specification: ACX wants every file between -23dB and -18dB RMS, no peak louder than -3dB, and a noise floor below -60dB RMS. Most of the work is getting your room, your mic and your habits to a place where those numbers happen on their own, session after session, because a book takes weeks and every session has to sound like the same person in the same room. Hilite records in a browser tab straight into an editor, so a chapter gets recorded, cleaned and checked in one place.
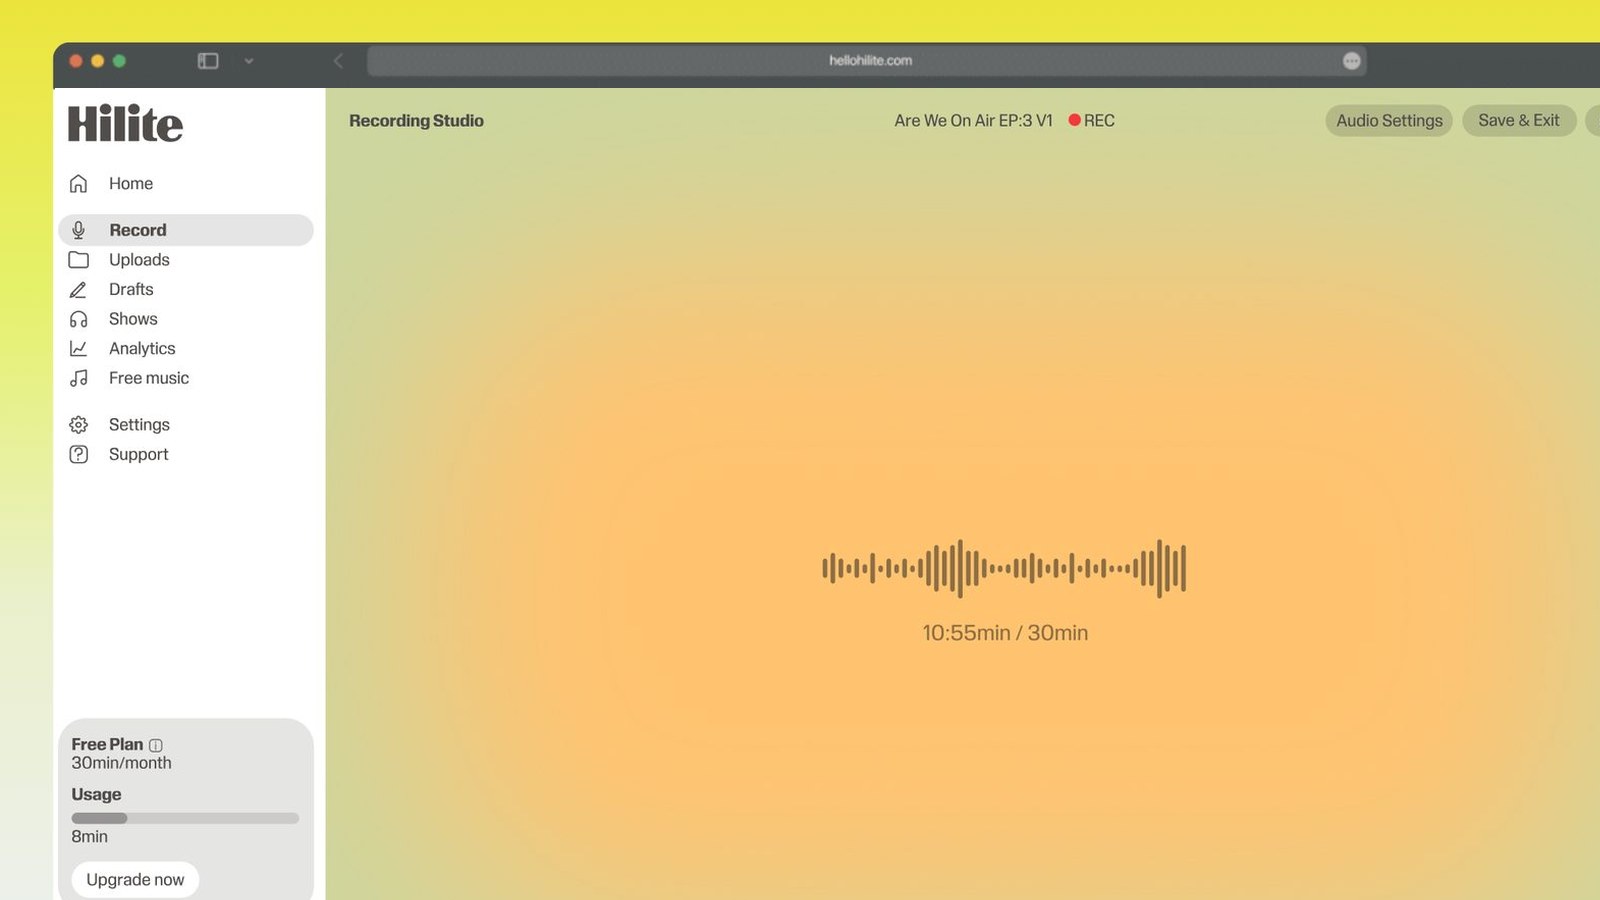
Record an audiobook at home in four steps
- 1
Build a room before you buy a mic
Find the smallest soft space in the house. A wardrobe with the clothes still hanging in it genuinely works — you are standing inside an absorber. Failing that, a duvet over a clothes airer behind you and a rug underfoot kills most of the reflection. Listen for the room, not the hiss: hiss can be reduced afterwards, reverb effectively cannot.
- 2
Set your level with your real voice
Sit a hand's width from the mic and slightly off to one side, then read a full paragraph at performance volume — not your quiet test voice, which is always a few decibels down. Aim for peaks around -6dB while recording so there's headroom when a character shouts; you'll set the final loudness in the edit. Recording too hot is the one mistake nothing fixes.
- 3
Record room tone, then read
Start every single session with ten seconds of absolute stillness before the first word — no shifting, no swallowing. Then read. Keep water nearby but no ice, and if mouth noise is a problem, a slice of green apple helps more than water does.
- 4
Punch and roll on every fluff
When you stumble, don't stop and mark it for later. Back the playhead up a sentence or two, listen to your own read through headphones, and drop back into record in the gap before the fluffed line so your pitch and pace carry straight across the join. Done that way the repair is inaudible; stopping and restarting cold never quite is.
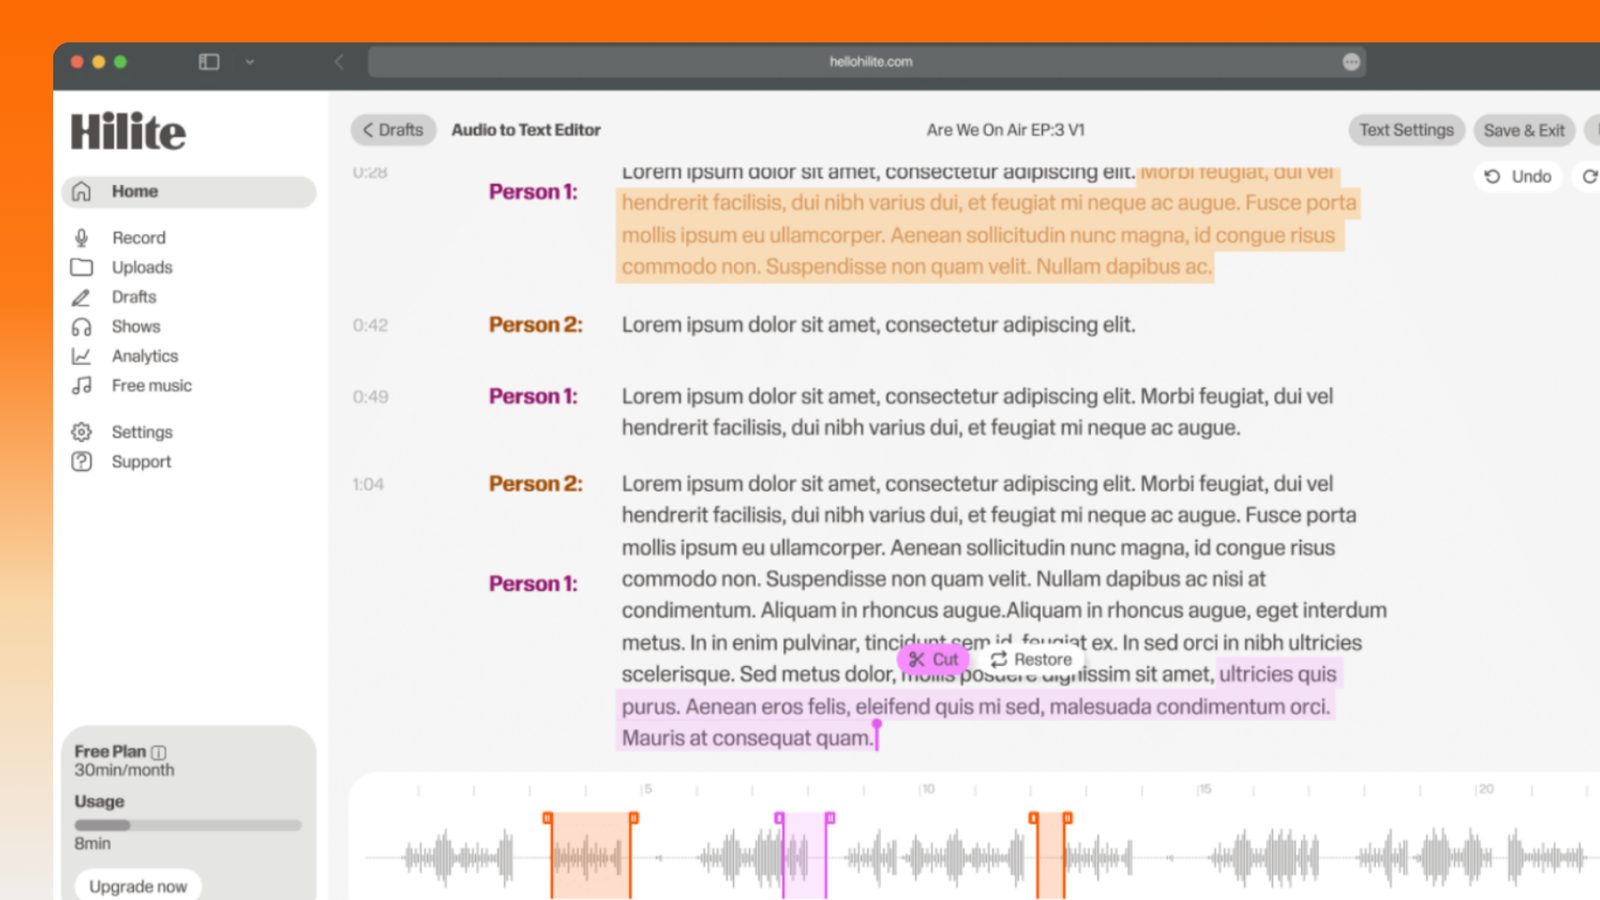
Keep working inside the Hilite editor
Your uploaded files open directly in a focused editor view. Arrange your clips, preview the timeline, adjust transitions, and export when the track sounds perfectly right.
- Record straight into the browser
- Watch levels as you speak
- Keep the take, or run it again
Input formats
Output formats
Built for every kind of audio
Whatever you are making, this tool helps you get to a cleaner, more useful result, then hand off to Hilite to enhance and polish.
- Numbers, not opinionsAudiobooks are the one format with a published spec. -23 to -18dB RMS, peaks under -3dB, noise floor below -60dB RMS — hit those and it passes, miss one and a beautiful read gets sent back.
- The room beats the micAn expensive microphone in a bare room sounds worse than a cheap one in a wardrobe. Hanging clothes absorb reflections better than most budget foam, which is why a rail of coats is the standard first booth.
- Room tone every sessionRecord ten seconds of silence before the first word, every time. It's what noise reduction learns from and what fills the gaps in the edit, and it changes whenever you move the mic, change clothes or the weather turns.
- Weeks apart, one voiceA book takes many sittings and a listener hears every jump between them. Photograph the setup, write down the gain and the distance, and warm up the same way each time so chapter 14 matches chapter 2.
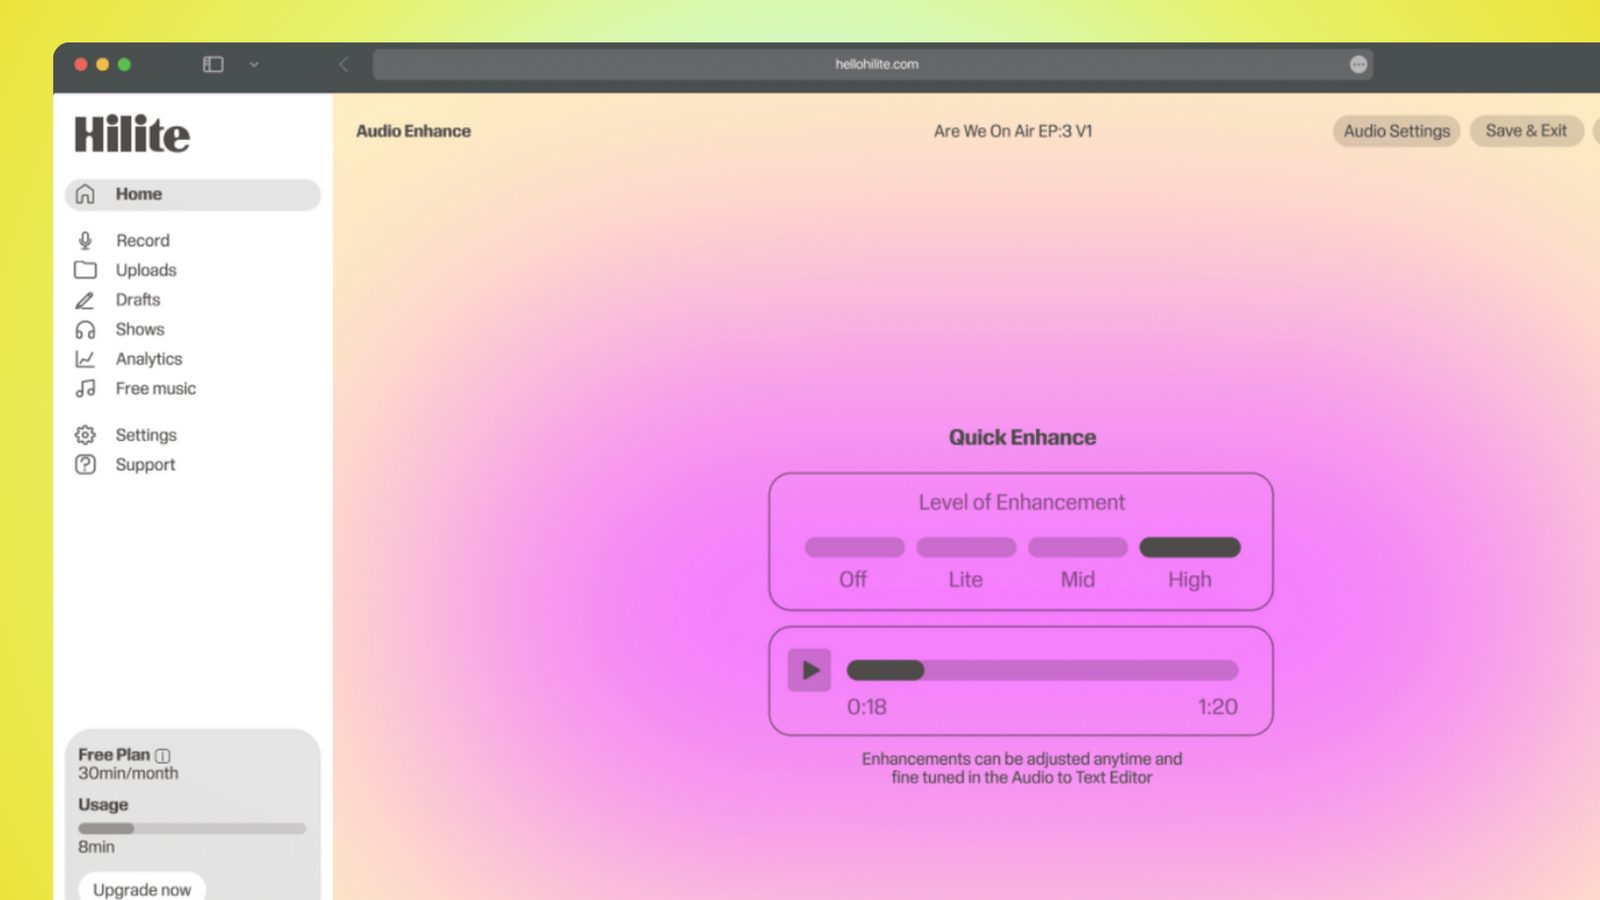
Made for podcasters and their teams
Trim the dead air off the top and tail, and every recording is ready to edit, enhance, and publish.


FAQ
Common questions
If you do not see your question here, the support team replies within one business day.
- Each file must measure between -23dB and -18dB RMS, peak no higher than -3dB, and have a noise floor no higher than -60dB RMS. On top of that: one file per chapter, each under 120 minutes, with 0.5 to 1 second of room tone before the first word and 1 to 5 seconds after the last; opening and closing credits; a retail sample of 1 to 5 minutes; and export as 192kbps or higher constant bitrate mp3 at 44.1kHz. Every one of those is checkable before you submit, which is why a rejection is nearly always avoidable.
- RMS is the average loudness of a file over its whole length, as opposed to peak, which is the single loudest instant in it. You can have a quiet-sounding chapter with one loud door slam: low RMS, high peak. The -23 to -18dB window is deliberately narrow so that a listener moving from one audiobook to the next, or one chapter to the next, doesn't have to reach for the volume. In practice you record with plenty of headroom, then set the level in the edit until the whole file lands inside that window.
- The noise floor is everything the microphone hears when nobody is speaking — the fridge, the computer fan, traffic, the mic's own electronic hiss. Below -60dB RMS is roughly the level where you have to concentrate to notice it at all. The fixes in order of effect: record somewhere soft and small, turn off anything with a motor in it, move the laptop away from the mic or use a longer cable, get closer to the mic so your voice is louder relative to the room, and only then reach for noise reduction. Getting closer is the most underrated of those, because it raises your voice without raising the room.
- No, and buying one first is the usual mistake. Room treatment beats microphone quality at every budget under a few hundred pounds, because a sensitive mic in a reflective room simply captures the reflections in more detail. A modest USB microphone on a stand, positioned properly, in a wardrobe or behind a duvet, will hit the ACX spec. Spend on a stand and a pop filter before you spend on the mic, and if you're choosing between a condenser and a dynamic mic, a dynamic is more forgiving in an untreated room because it hears less of what's behind you.
- Use a wardrobe. Stand or sit inside it with the clothes still hanging, mic in front of you, and you have an absorber on every side — it is the closest thing to a booth most people already own. If that's impractical, build a corner: duvet or thick blankets on a clothes airer behind and to the sides of you, something soft on the floor, curtains drawn, and the mic pointing at the soft surfaces rather than a bare wall. Avoid the middle of an empty room, kitchens, bathrooms and anywhere with a hard floor and glass. The test is a clap — if you hear a ring after it, the room needs more soft stuff.
- It's the standard way narrators fix a mistake without stopping the session. Instead of pausing and re-recording the line cold, you roll the playback back a sentence or so, listen to your own voice in headphones as it plays, and punch back into record right in the gap before the fluff — so you come in matching the pitch, pace and energy you already had. The join lands in a natural pause and is inaudible. The alternative, recording pickups separately at the end of a session, almost always leaves a small change of tone that a listener notices even if they can't name it.
- The rule of thumb narrators use is that one finished hour takes about two hours in the chair, and roughly the same again to edit and check — so plan on something like six hours of work per finished hour when you're starting out, less once you've settled. A typical novel runs eight to ten finished hours. Recording in two-hour sessions is realistic; your voice tires, and a tired voice at the end of a four-hour session doesn't match the same day's start. Break the book at chapter boundaries so a session is never left half-finished.
- Audacity is free, capable, and has the analysis tools you need to check RMS, peak and noise floor, so plenty of published audiobooks have been made in it. Its drawbacks are the install, the interface, and the fact that punch and roll takes a plug-in or a keyboard workaround. Recording in the browser suits people who move between machines, who can't install software on a work or library computer, or who simply want the recording and the editor in the same window. Whatever you use, keep the raw files — a book that gets rejected on the noise floor can often be saved from the original, but not from an exported mp3.
Get the room right, then read
Record a chapter, check it against the spec, and know it passes before you record the next one.