Record audio on a Chromebook
You can record audio on a Chromebook without installing anything: open Hilite in a tab, allow the microphone, press record. ChromeOS has never shipped a proper voice recorder — the built-in Screen Capture tool records your screen with the mic attached, and newer Chromebooks include a Recorder app, but neither lets you do much with the audio afterwards. Almost every other page you'll find tells you to install an Android app or a Chrome extension, which is exactly what a school-managed Chromebook blocks. A browser recorder is the native answer here, because the browser is what a Chromebook is. Your recording lands in an editor where you can trim it, take out the room hum, even out the volume and get a transcript.
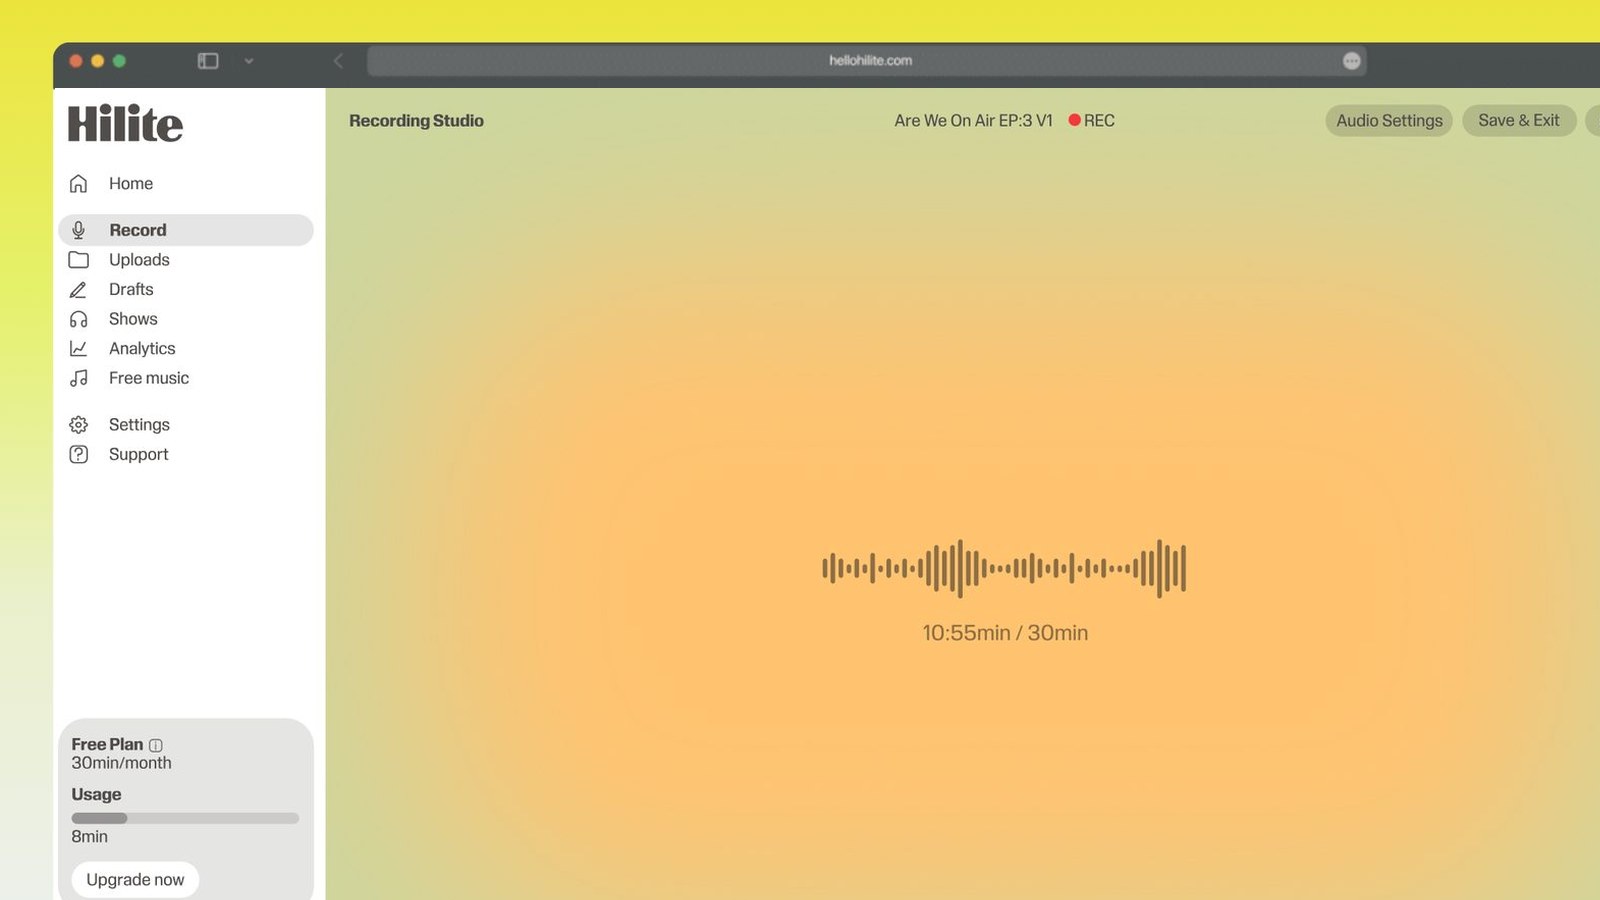
Record on your Chromebook in four steps
- 1
Open Hilite in a tab
No install and no sign-in wall to get past. If your Chromebook is managed by a school or district, this is the step where every app-based guide falls over and this one doesn't.
- 2
Allow the microphone
Chrome asks once per site. Pick your input from the list — the built-in mic above the screen, or a USB headset if one is plugged in — and watch the level meter move while you talk.
- 3
Record
Sit about a hand's width from the mic and speak across it rather than into it. A Chromebook's built-in mic sits near the fan, so keep the machine off your lap and off a hard desk if you can.
- 4
Clean it up and export
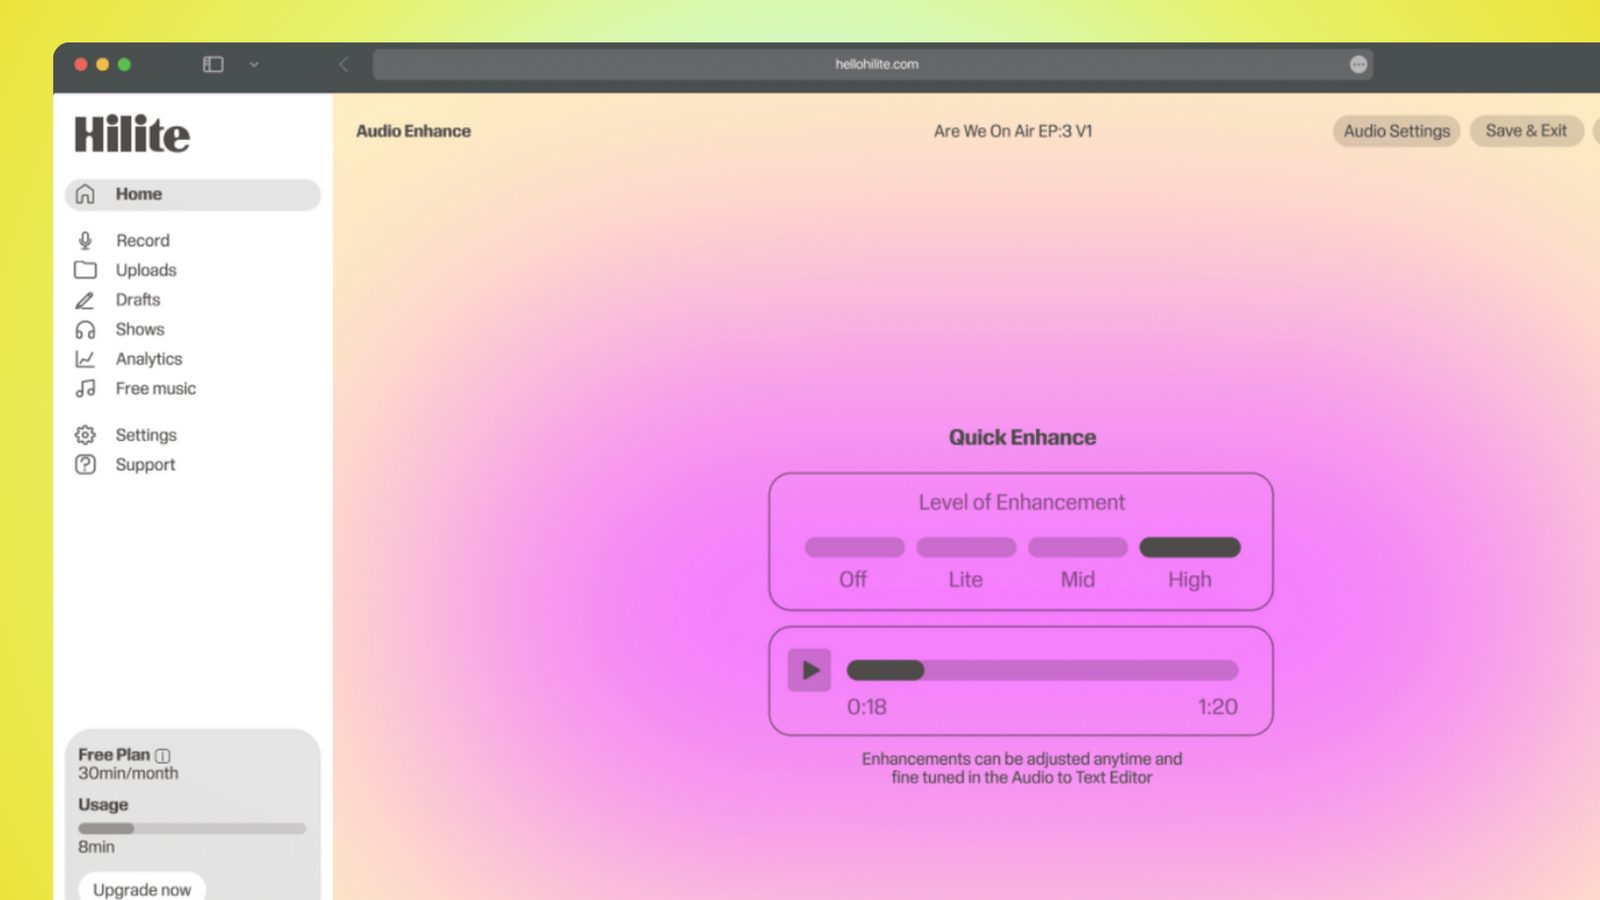
Trim the dead air at each end, cut the noise floor, level the volume, then export an mp3 or wav to Downloads or Google Drive. Copy the transcript if you need one for captions or an assignment.
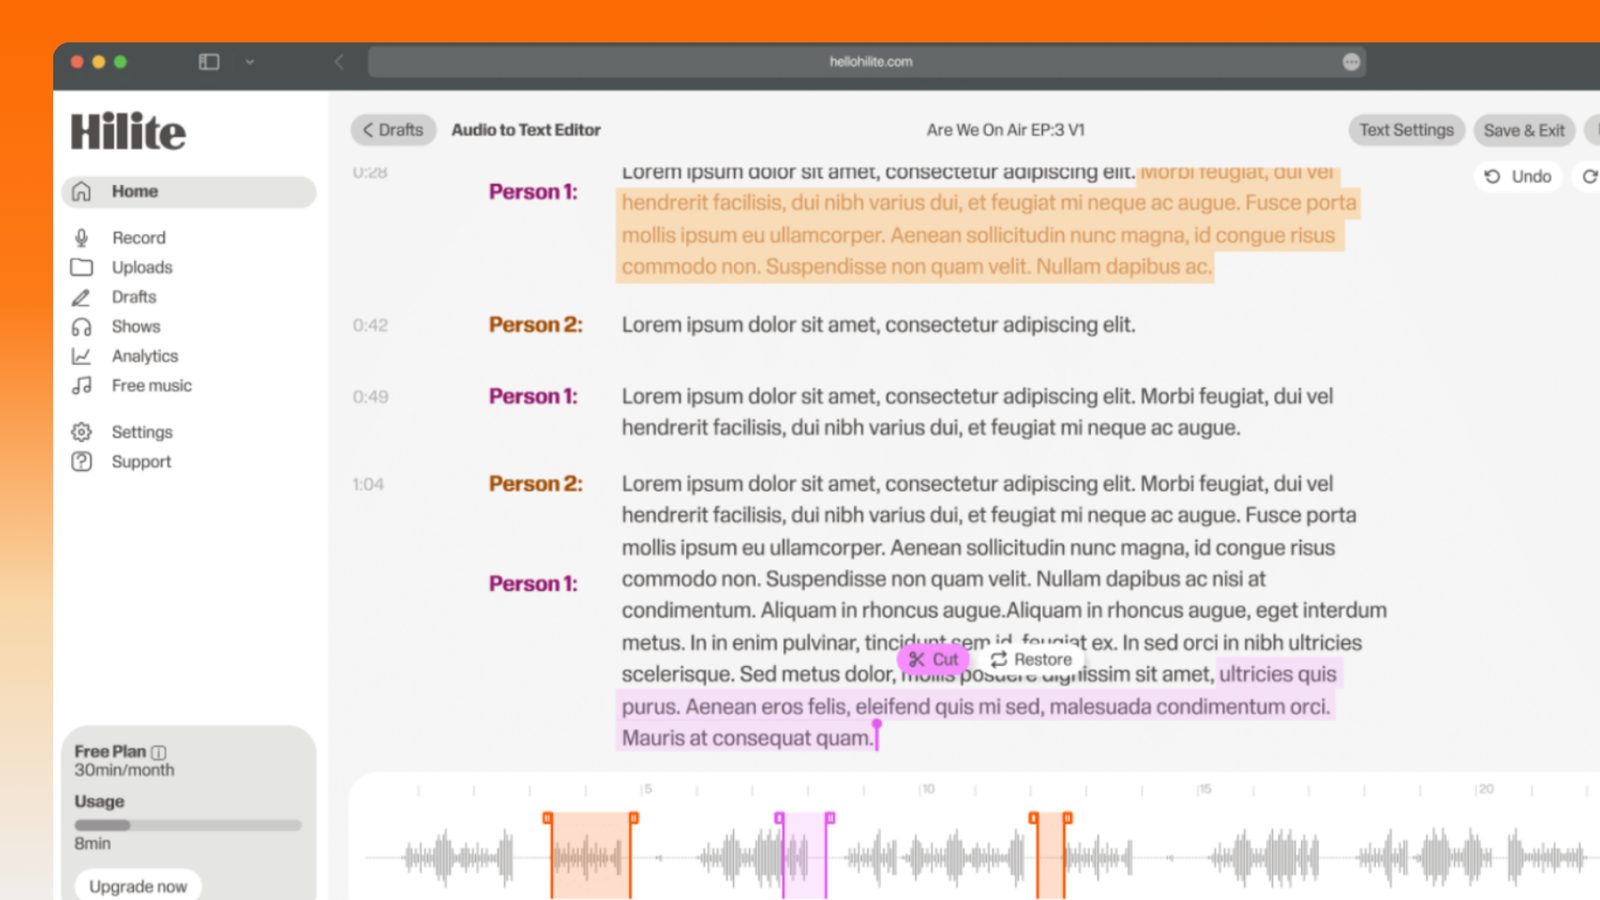
Keep working inside the Hilite editor
Your uploaded files open directly in a focused editor view. Arrange your clips, preview the timeline, adjust transitions, and export when the track sounds perfectly right.
- Record straight into the browser
- Watch levels as you speak
- Keep the take, or run it again
Input formats
Output formats
Built for every kind of audio
Whatever you are making, this tool helps you get to a cleaner, more useful result, then hand off to Hilite to enhance and polish.
- Nothing to installNo Play Store, no extension, no admin approval. It's a web page, so it opens the same way a Google Doc does.
- Works on school ChromebooksManaged and enrolled devices usually block app and extension installs, which kills every other suggestion in the search results. A tab is not an install, so this one still works.
- Lands in an editorThe Recorder app and Screen Capture hand you a raw file and stop there. Here the recording opens straight into trimming, noise removal, levelling and transcription.
- Files go where you expectExport to Downloads or straight into Google Drive, then attach it to Classroom or drop it into Slides without hunting for it.
Made for podcasters and their teams
Trim the dead air off the top and tail, and every recording is ready to edit, enhance, and publish.

FAQ
Common questions
If you do not see your question here, the support team replies within one business day.
- Sort of, and it depends how new your Chromebook is. Newer models — mostly Chromebook Plus devices — ship a Recorder app you'll find in the launcher, which records, transcribes and saves locally. Older Chromebooks have no dedicated recorder at all; the closest thing is the Screen Capture tool, which records the screen with microphone audio and gives you a video file rather than an audio one. Neither offers editing beyond the basics, which is why most people searching for a voice recorder for a Chromebook end up looking for something else.
- Use a recorder that runs in the browser, because a web page isn't an install. Managed Chromebooks are usually locked down at the Google Admin level: the Play Store is switched off, the Web Store is restricted to an allow-list, and nothing new gets added without a district admin. Hilite opens in a tab like any other site and asks only for microphone permission, which is a Chrome prompt rather than a software install. If your school blocks unknown sites entirely, ask your IT team to allow the domain — that's a single allow-list entry rather than an app rollout.
- Downloads by default. Open the Files app, and everything you export lands in My files > Downloads, which lives on the Chromebook itself rather than in the cloud. That matters on a shared or school device, because local files can be wiped when you're signed out or when the Chromebook is powerwashed. Drag anything you want to keep into the Google Drive section of the same Files app, or export it there directly.
- You can, but you'll get a video. Press Shift + Ctrl + the Show Windows key, choose screen record, click the settings cog and turn the microphone on — ChromeOS then records your screen with your voice over it and saves a .webm to Downloads. It's genuinely useful for a screencast. For audio on its own it's a poor fit: you end up with a video file you have to strip the audio out of, and you can't trim the middle, remove noise or level the volume.
- Plug it in and pick it from the input list before you record. Chromebooks recognise most USB and 3.5mm headsets with no driver, and you can confirm which one is live by clicking the clock, opening the audio settings and looking at the input section. A headset is worth using: the built-in mic sits in the bezel next to the fan and the keyboard, so it picks up typing, the fan and the whole room. A cheap wired headset moves the mic to a hand's width from your mouth, which does more for the recording than any software.
- Export the file to Google Drive, then attach it from Drive when you submit. In Classroom, open the assignment, choose Add or create, pick Google Drive and select the file — that avoids a big upload from the Chromebook and keeps a copy in your own Drive. If your teacher asked for a specific format, export mp3; it plays everywhere and the file is small enough to attach without trouble.
- Slides can only insert audio that already lives in your Google Drive, so export there first. Then open your deck, choose Insert > Audio, pick the file, and use the format options on the right to set it to play automatically and hide the speaker icon during the presentation. Slides accepts mp3 and wav — export mp3 unless you've been asked for something else.
- You need to be online to load the page. Once it's open the recording itself happens on your machine, but if you're recording somewhere with no wifi, load the tab before you go — or use the built-in Recorder app or Screen Capture, which work offline and hand you a raw file to tidy up later. Most school Chromebooks are on wifi anyway, so this comes up less often than you'd think.
Open a tab and press record
Nothing to install, nothing for IT to approve, and the recording opens straight into an editor.