Record audio on a Mac
The quickest way to record audio on a Mac is QuickTime Player: open it, choose File > New Audio Recording, click the red button. Voice Memos does the same job in fewer clicks and syncs whatever you recorded on your iPhone, and GarageBand is there if you actually want a music studio. For a note to yourself, any of the three is enough. They run out at the same place, though: QuickTime trims the top and tail and nothing else, none of them removes the hiss from the room, none of them evens out one loud voice and one quiet one, and none of them gives you a transcript. Hilite records in a browser tab on any Mac and the file opens straight into an editor that does all four.
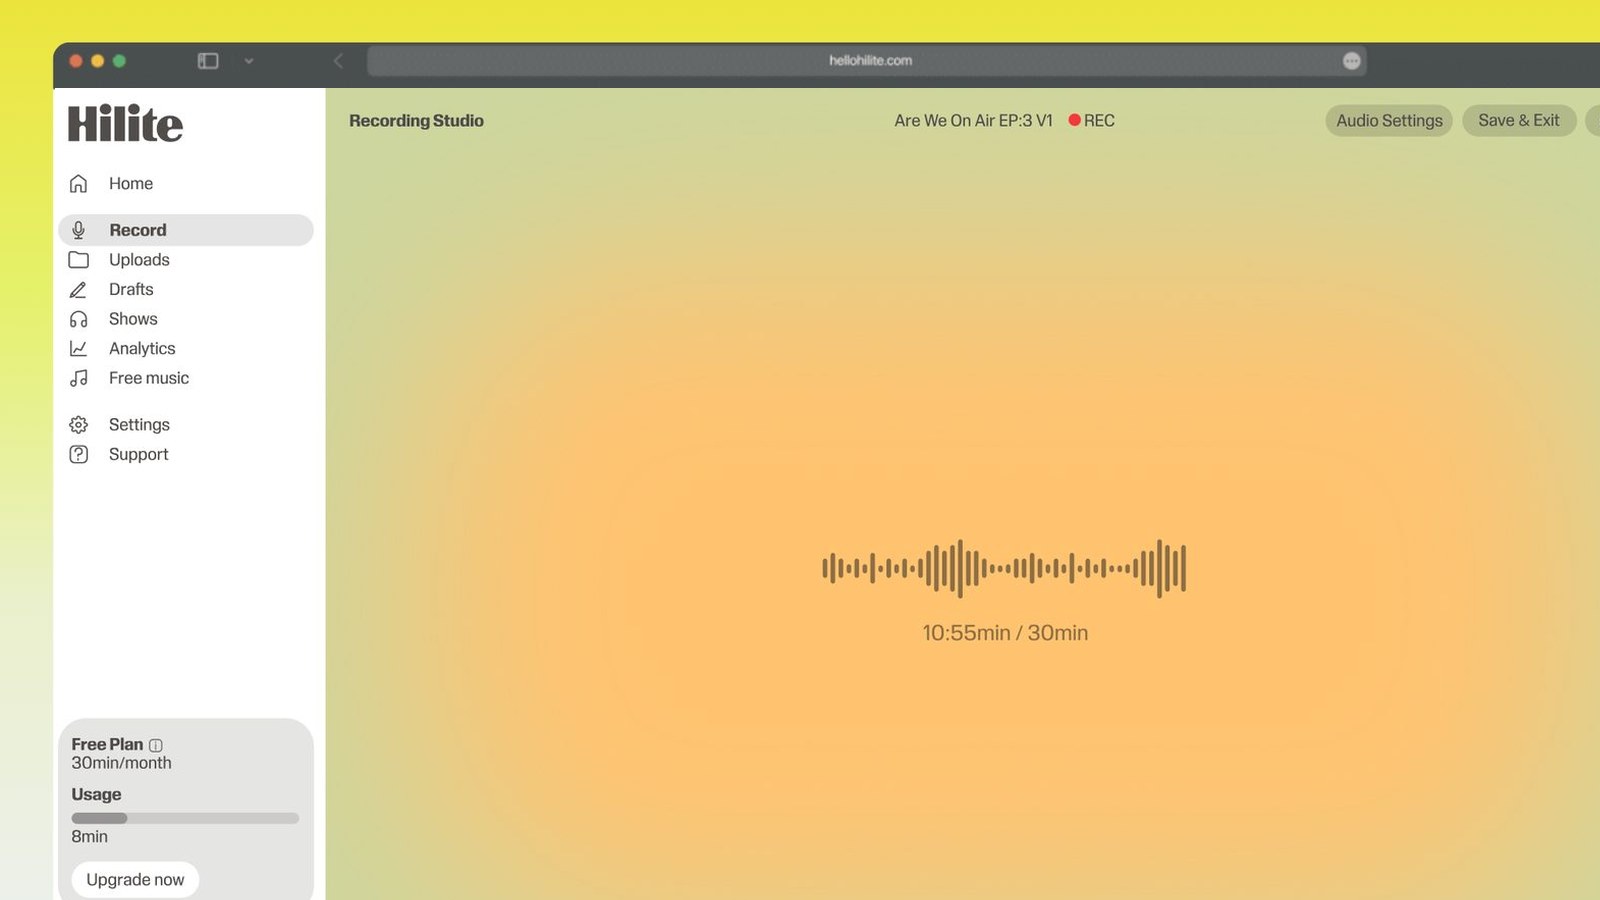
Record on your Mac in four steps
- 1
Set your input first
Open System Settings > Sound > Input and pick the mic you actually mean. Talk at it and watch the input level bar — if it barely moves, you're recording the wrong device, which is how most Mac recordings go wrong before they start.
- 2
Open Hilite in a tab
Safari, Chrome or Arc, whichever you have open. Allow the microphone when the browser asks; it only asks once.
- 3
Record
Sit a hand's width from the mic and slightly off to one side so your plosives miss it. The MacBook's built-in mics are decent for speech but they also hear the room, so close a window and stop the fan if you can.
- 4
Clean it up and export
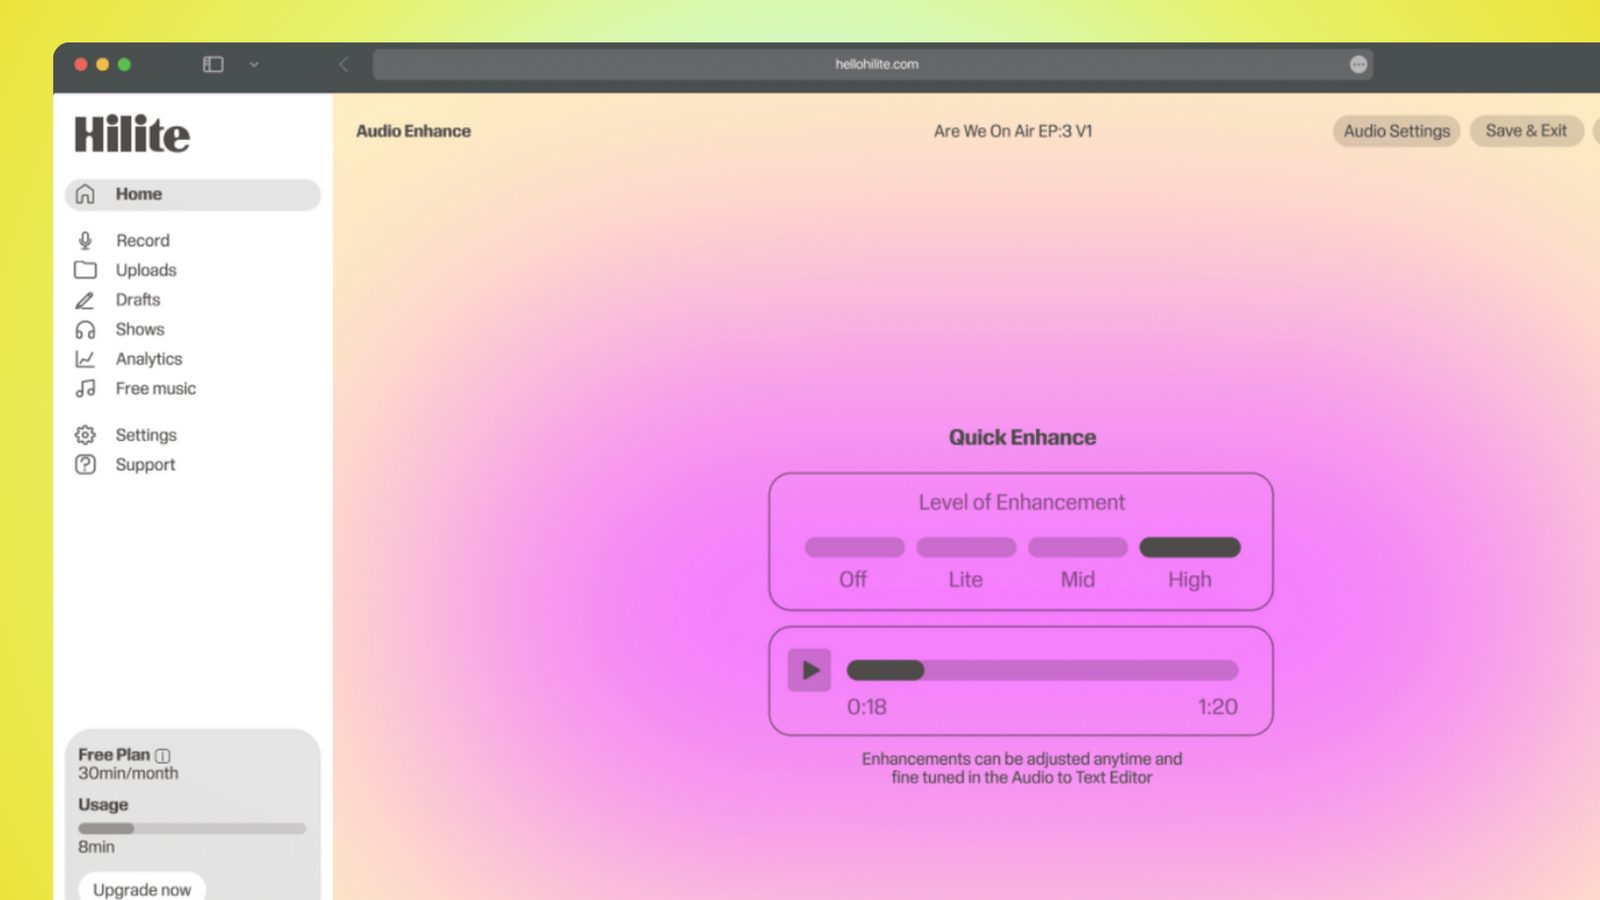
Trim, cut anything you don't want, pull down the background noise, level the voices, then export mp3 or wav. The transcript is there if you need one.
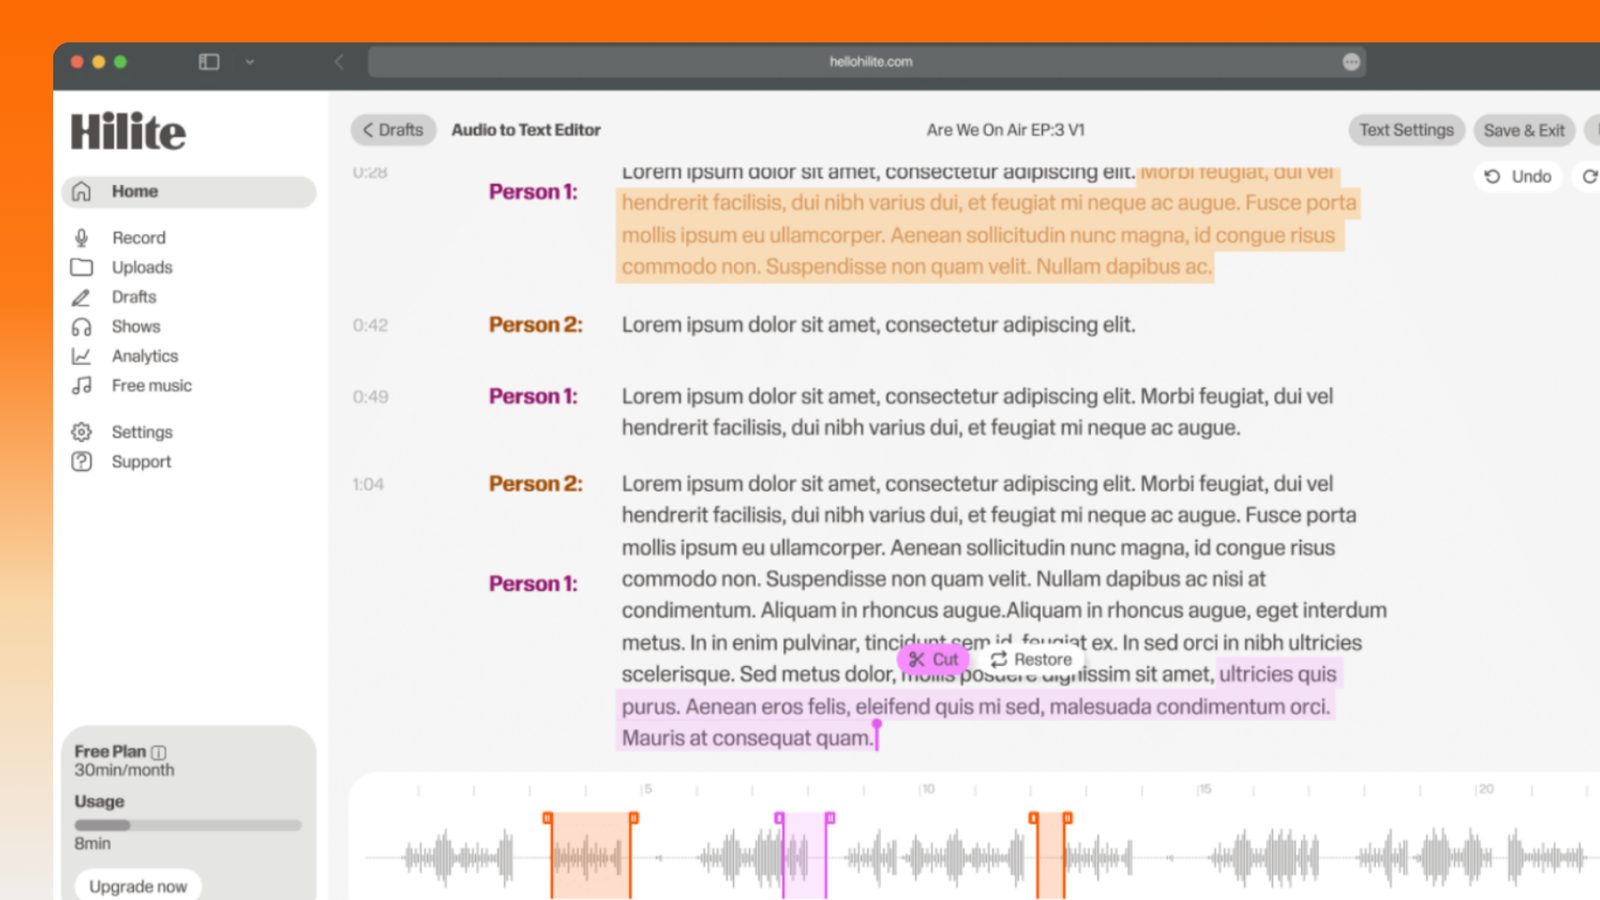
Keep working inside the Hilite editor
Your uploaded files open directly in a focused editor view. Arrange your clips, preview the timeline, adjust transitions, and export when the track sounds perfectly right.
- Record straight into the browser
- Watch levels as you speak
- Keep the take, or run it again
Input formats
Output formats
Built for every kind of audio
Whatever you are making, this tool helps you get to a cleaner, more useful result, then hand off to Hilite to enhance and polish.
- Editing past the trimQuickTime can shorten a recording from either end and that's it. Here you can cut a cough out of the middle, close a long gap, and keep the rest untouched.
- Two voices, one levelAn interview where one person leans in and the other sits back is the usual reason a Mac recording sounds amateur. Levelling fixes it in one pass instead of riding a fader in GarageBand.
- Runs on a locked MacPlenty of company Macs won't let you install anything without IT. A browser tab needs no admin password and no software request.
- Transcript with the audioUseful for show notes, subtitles, quoting an interview, or just finding the bit where somebody said the thing. macOS gives you no transcript at all.
Made for podcasters and their teams
Trim the dead air off the top and tail, and every recording is ready to edit, enhance, and publish.


FAQ
Common questions
If you do not see your question here, the support team replies within one business day.
- Open QuickTime Player, choose File > New Audio Recording, and click the red button. Before you start, click the small chevron next to the button — that's where you pick the microphone and choose High rather than Maximum quality, which most people never find. Press the button again to stop, then Command + S to save. It's a solid plain capture; it just can't do anything to the audio afterwards.
- Wherever you tell it when you save, and recent versions of macOS pre-fill the Desktop with the name 'Audio Recording'. If you close the window without saving, macOS prompts you rather than throwing it away. The file comes out as .m4a (AAC), not mp3 — if you need mp3, you'll have to convert it, because QuickTime's export options don't include one.
- macOS won't do this on its own, and this is the genuine gap in Apple's setup. QuickTime's input list only shows microphones, so there's no way to point it at whatever is coming out of your speakers. The usual fix is a virtual audio device — BlackHole is free, Loopback is paid — which creates a fake input your Mac can record from, and you then select that as your input. If you only need one specific thing, it's often faster to grab the audio from the source file or the download than to build a routing setup.
- System Settings > Sound > Input lists every input the Mac can see — the built-in mics, any USB interface, AirPods, and a headset if one is plugged in. Pick the one you want and speak; the input level bar under the list is the honest test. Some apps, QuickTime included, also have their own input picker, and that per-app choice wins over the system setting, so check both if a recording comes out silent.
- Voice Memos for a note or an idea, especially if you want it to appear on your iPhone via iCloud. QuickTime for a plain capture you're going to hand to someone else or edit elsewhere. GarageBand only if you need multiple tracks, because it's a music studio and setting up a single talking voice in it is far more work than the job deserves. If the recording is going to be published — a podcast, a lesson, a client interview — none of the three finishes the job, and that's the point at which a proper editor saves you an evening.
- Only at the ends. Edit > Trim gives you a yellow bar you drag inwards to shorten the start and the finish, and that's the entire toolkit. You can't remove a section from the middle, you can't fade, you can't touch the noise floor or the volume balance. For a clean start and stop it's fine; for anything with a mistake in the middle of it, it isn't.
- Almost always the room, not the Mac. The built-in mics sit in the chassis and pick up reflections off a bare desk, a hard floor and any wall behind you. Move closer — a hand's width — put something soft nearby like a curtain or even a hoodie over the back of the chair, and avoid recording in the middle of an empty room. If it's already recorded, background noise removal will pull the hiss down, but reverb is far harder to undo than to avoid.
- The simplest setup is one decent mic between you both, roughly equidistant, with the Mac's fan quiet. It works, but the person further away always ends up quieter, which is what levelling is for. If it's a remote conversation, record your own side locally at full quality rather than relying on the call — call audio is compressed for bandwidth and it never comes back. Then level both sides together so the finished thing doesn't lurch in volume.
Keep QuickTime for the quick ones
When the recording is going out to someone else, record it here and leave with it finished.