Record voice on an iPad
iPadOS gives you two ways to record a voice already: Voice Memos, which is one red button and a file, and GarageBand, which is a full music studio you have to learn. For a quick note, Voice Memos is genuinely fine and you should just use it. It runs out the moment the recording is going to be heard by somebody else — it won't take the room hum out, it won't even out a loud voice and a quiet one, and it won't give you a transcript. GarageBand can do a lot of things, but it's built for songs, and the multitrack interface fights you when all you want is a clean spoken take. Hilite records in Safari on iPadOS, so there's nothing to install, and the recording lands in an editor that trims, cleans, levels and transcribes.
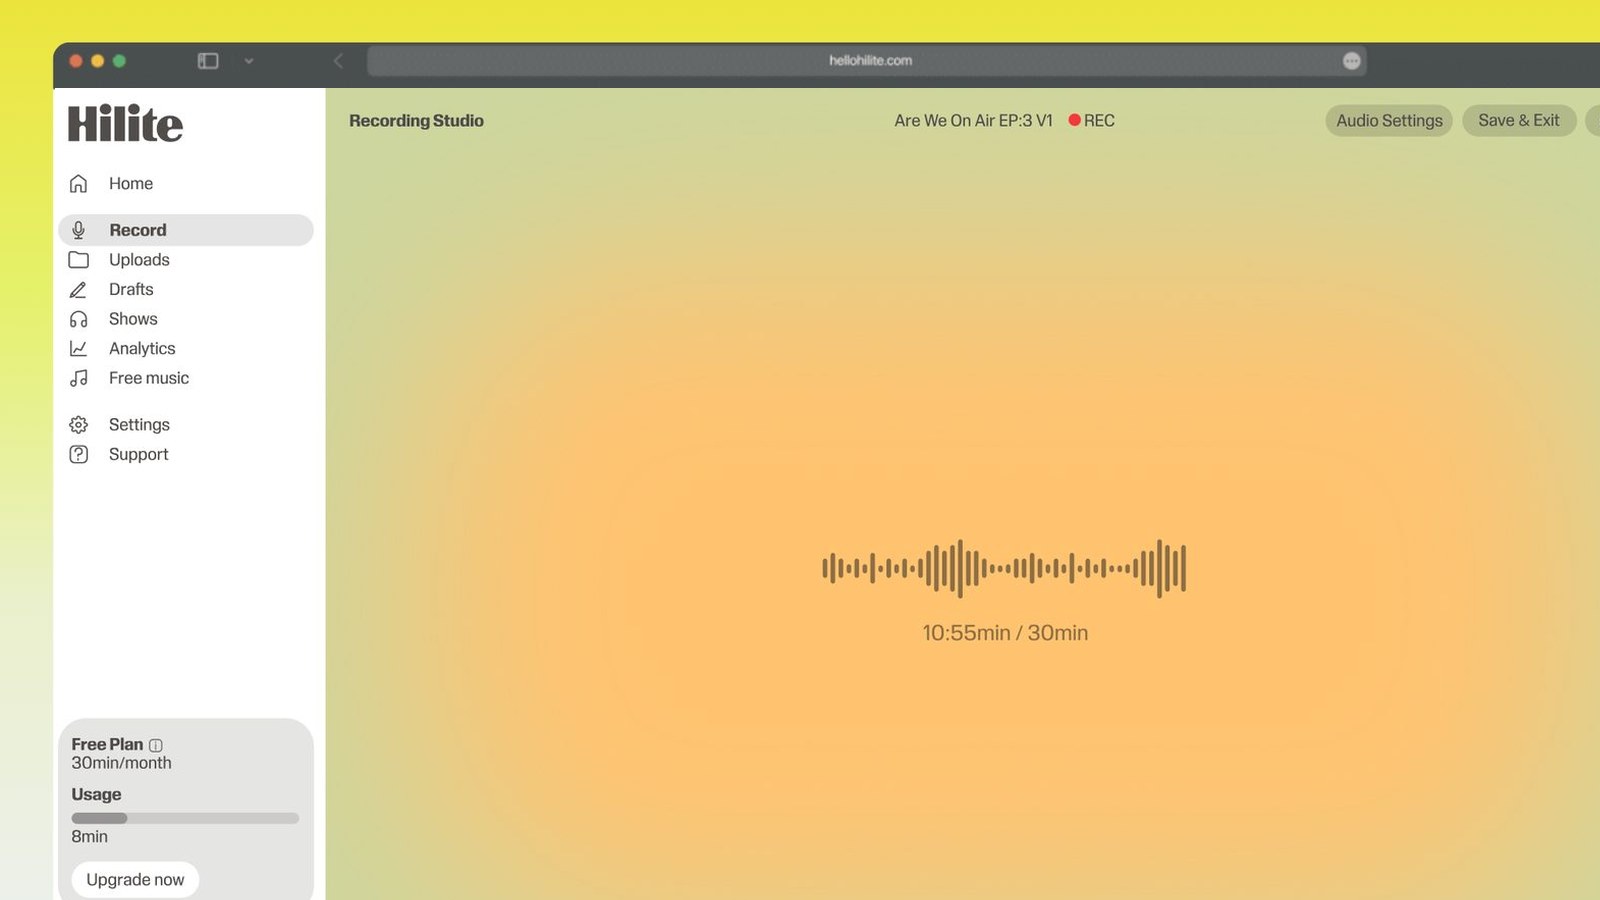
Record a voice on your iPad in four steps
- 1
Open Hilite in Safari
Same page, same recorder as on a laptop — iPadOS runs it in the browser with no App Store trip. Tap the address bar, load the page, and leave the tab in the foreground while you record.
- 2
Allow the microphone
Safari asks once per site and remembers. If you tapped Don't Allow by mistake, go to Settings > Safari > Microphone, or tap the small controls icon at the left of the address bar and set Microphone to Allow.
- 3
Get the iPad off the desk
The mics sit in the edge of the case, so an iPad lying flat on a table hears every knock, page turn and cup being put down through the surface. Stand it up in a case, or plug in wired earbuds with a mic and let those sit a hand's width from your mouth.
- 4
Clean it up and export
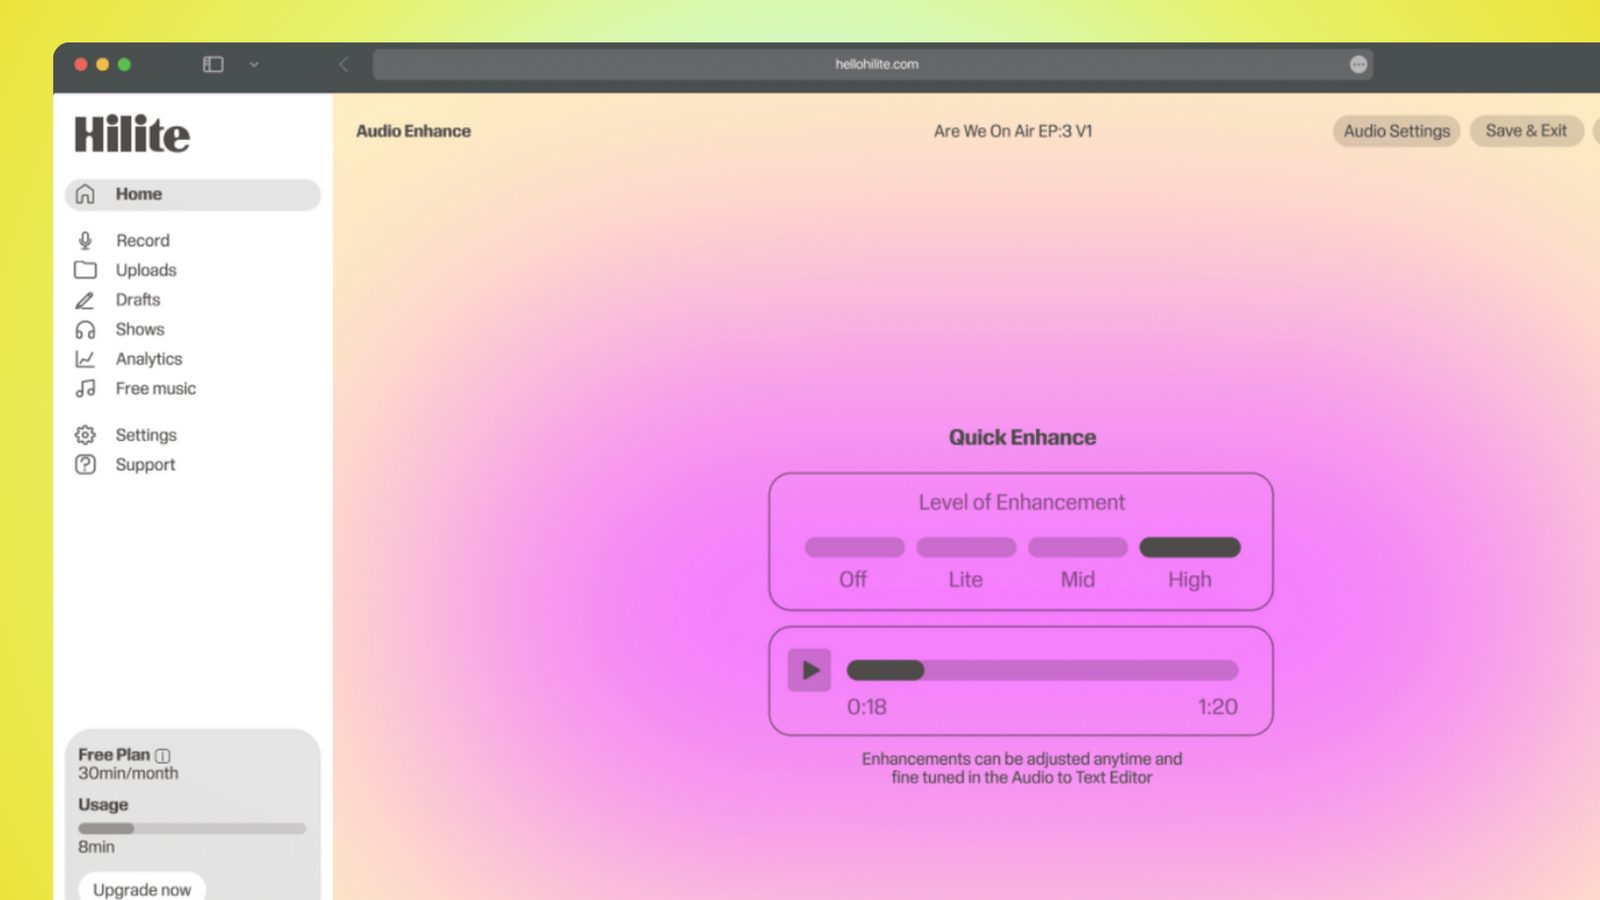
Trim the silence at each end, cut the noise floor, level the volume, then export an mp3 or wav. Save it to Files, iCloud Drive or Google Drive, or grab the transcript for captions or show notes.
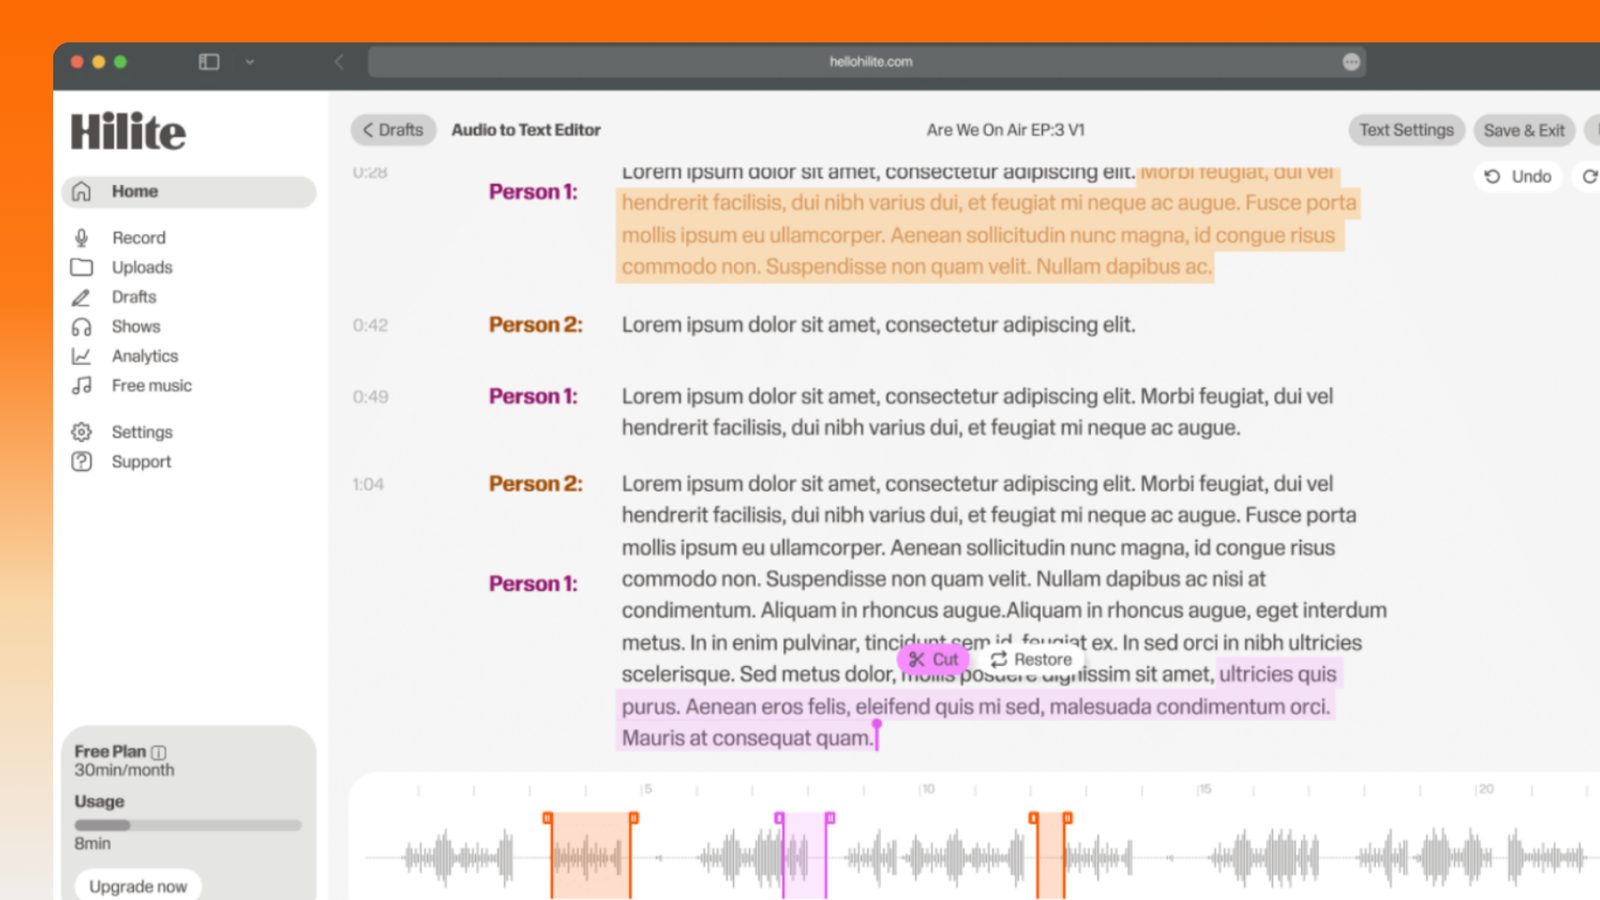
Keep working inside the Hilite editor
Your uploaded files open directly in a focused editor view. Arrange your clips, preview the timeline, adjust transitions, and export when the track sounds perfectly right.
- Record straight into the browser
- Watch levels as you speak
- Keep the take, or run it again
Input formats
Output formats
Built for every kind of audio
Whatever you are making, this tool helps you get to a cleaner, more useful result, then hand off to Hilite to enhance and polish.
- Nothing to installIt's a web page, so it opens in Safari the way any site does. Useful on a school iPad or a shared studio iPad where App Store installs are switched off.
- Cleans the room outVoice Memos hands you exactly what the mic heard, air conditioning and all. Noise removal takes the steady hum off a session recording without making the voice sound underwater.
- Simpler than GarageBandGarageBand is a music DAW with tracks, loops and a metronome. For a meditation script or a lesson recording, you want a waveform, a trim tool and an export button.
- The file goes somewhereExport straight to Files, iCloud Drive or Google Drive instead of working out how to get a Voice Memo off the iPad and into your podcast host.
Made for podcasters and their teams
Trim the dead air off the top and tail, and every recording is ready to edit, enhance, and publish.

FAQ
Common questions
If you do not see your question here, the support team replies within one business day.
- Yes — Voice Memos, which is installed by default and sits in the App Library if you can't see it on a home screen. Tap the red button, tap it again to stop, and the recording saves to a list you can play back and rename. It does a basic trim and an Enhance Recording toggle, and that's the whole feature set: no noise control you can dial in, no volume levelling between voices, no transcript export on older iPadOS versions. It's the right tool for a memo to yourself and the wrong one for anything you're publishing.
- Only if you already know GarageBand. It's a real multitrack studio and it records spoken word perfectly well, but it's built around songs — you'll start in a project with a metronome and a tempo, you'll need to switch to the Audio Recorder track type, and exporting means going through Share > Song to work out where the file went. For a single voice take, that's a lot of steps between you and an mp3. Where GarageBand earns its place is if you're adding music beds underneath narration and want to mix them by hand.
- Because the iPad is lying flat on the table. The microphones are in the aluminium edge of the case, so the desk becomes a sounding board — a knuckle on the table, a mug being set down, or your fingers tapping the screen all arrive as thumps that no amount of noise removal will fully take out. Stand the iPad up in a case or on a stand so the edge is in the air, keep it off the same surface you're touching, and if you can, put it on a folded towel. Better still, plug in wired earbuds with an inline mic so what you're recording is your mouth rather than the room and the furniture.
- Yes, on any USB-C iPad. Class-compliant USB mics — most of the common desk mics and audio interfaces — work when plugged straight into the port, with no driver and no settings to change. Power-hungry interfaces may need a powered USB-C hub, which is also how you charge the iPad and run the mic at the same time. On an older Lightning iPad you'll need the Lightning to USB Camera Adapter, and the version with the extra Lightning power port is the one worth buying. Once it's connected, pick it as the input in the recorder before you press record.
- You can, but don't if the recording matters. Bluetooth mics drop to a narrow, compressed voice-call quality when they're used as an input, and the difference against the iPad's own mics is obvious the moment you hear it back. Wired earbuds with an inline mic cost very little and sound considerably better, because they carry full-bandwidth audio and sit close to your mouth. Keep the AirPods for listening back.
- Export it to the Files app, then move it wherever it needs to go. From Files you can drop it into iCloud Drive, Google Drive, Dropbox or OneDrive and pick it up on a laptop, or use the share sheet to email it or AirDrop it to a Mac. If you recorded in Voice Memos instead, long-press the recording, choose Share, and save to Files from there — Voice Memos gives you an m4a, which some upload forms and Google Slides won't accept. Exporting an mp3 avoids that conversation entirely.
- For a class recording or a guided track, yes, with two changes. First, get the mic close: the iPad's built-in mics are a metre or two away in a room with hard floors and mirrors, which is exactly the situation that produces that echoey, distant sound. Wired earbuds or a small USB-C mic fixes most of it. Second, record somewhere with soft furnishings if you can, because reverb is the one thing software can't undo. After that, noise removal handles the ventilation hum and levelling keeps the quiet parts of a script audible without the loud parts jumping.
- Keep the tab in front and the screen awake. A browser recording lives in the Safari tab, so switching to another app or letting the iPad sleep can suspend it — which is fine for a five-minute take and risky for a fifty-minute session. Turn Auto-Lock off in Settings > Display & Brightness before a long recording, keep the iPad plugged in, and don't swipe away to check messages. If you need the iPad free for something else while recording, Voice Memos will keep running in the background and you can clean the file up afterwards.
Record on the iPad you already have
Open Safari, allow the mic, and the take lands in an editor that trims, cleans, levels and transcribes.